In this easy-to-follow tutorial, we will guide you through the process of drawing a simple and adorable owl. Whether you are a young aspiring artist or a parent looking to engage your kids in a fun creative activity, this step-by-step guide will help you create a cute owl drawing. Let’s dive right in!
How To Draw An Owl Step-By-Step Full Tutorial :

Here are some simple steps you can take to begin the process of drawing and coloring an owl.
Requirement Materials :
Here are the materials we need to draw this picture.
- White paper
- Pencil
- Pencil sharpener
- Eraser
- Blue, Pink, Green, Yellow, Black Color.
Step 1 –
Draw the Eyes.

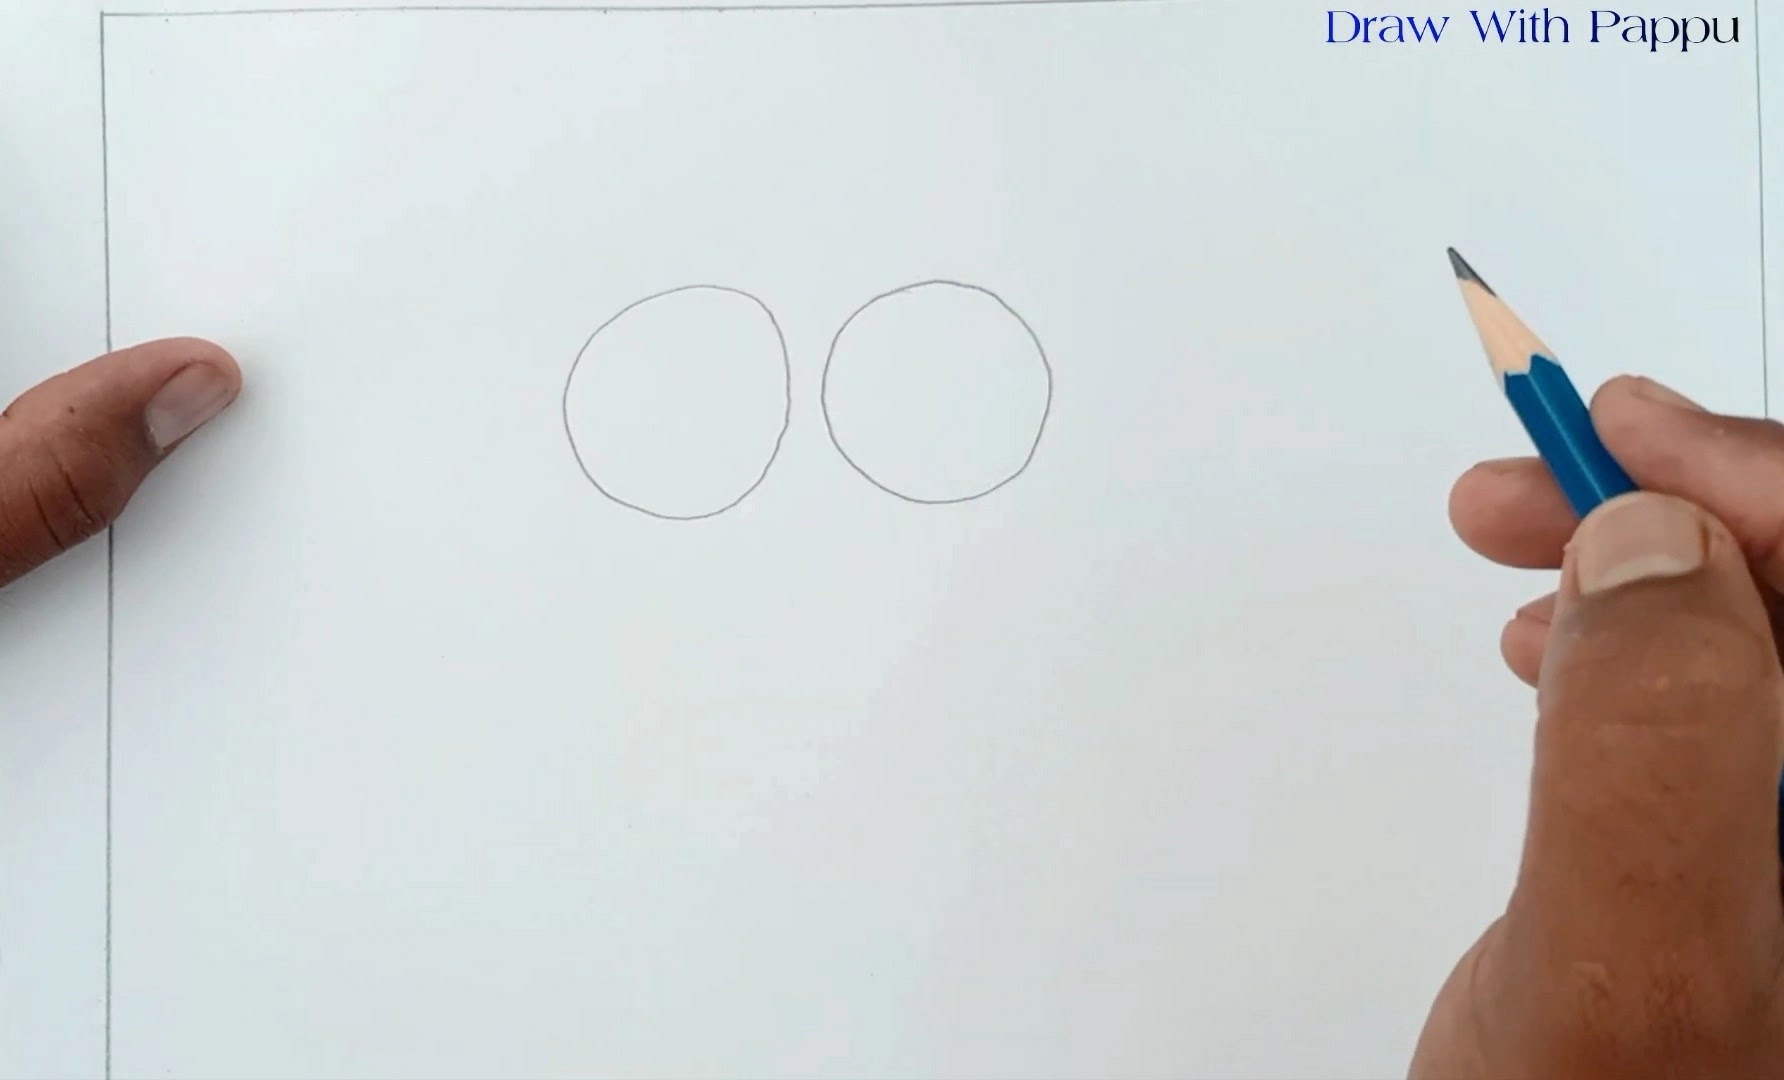
To begin, take a white drawing paper and draw two large circles for the owl’s eyes. Make sure the circles are equal in size and parallel to each other. Remember, owl eyes are larger than those of other birds, so don’t hesitate to make them a little bigger.
Step 2 –
Create the Owl’s Face.

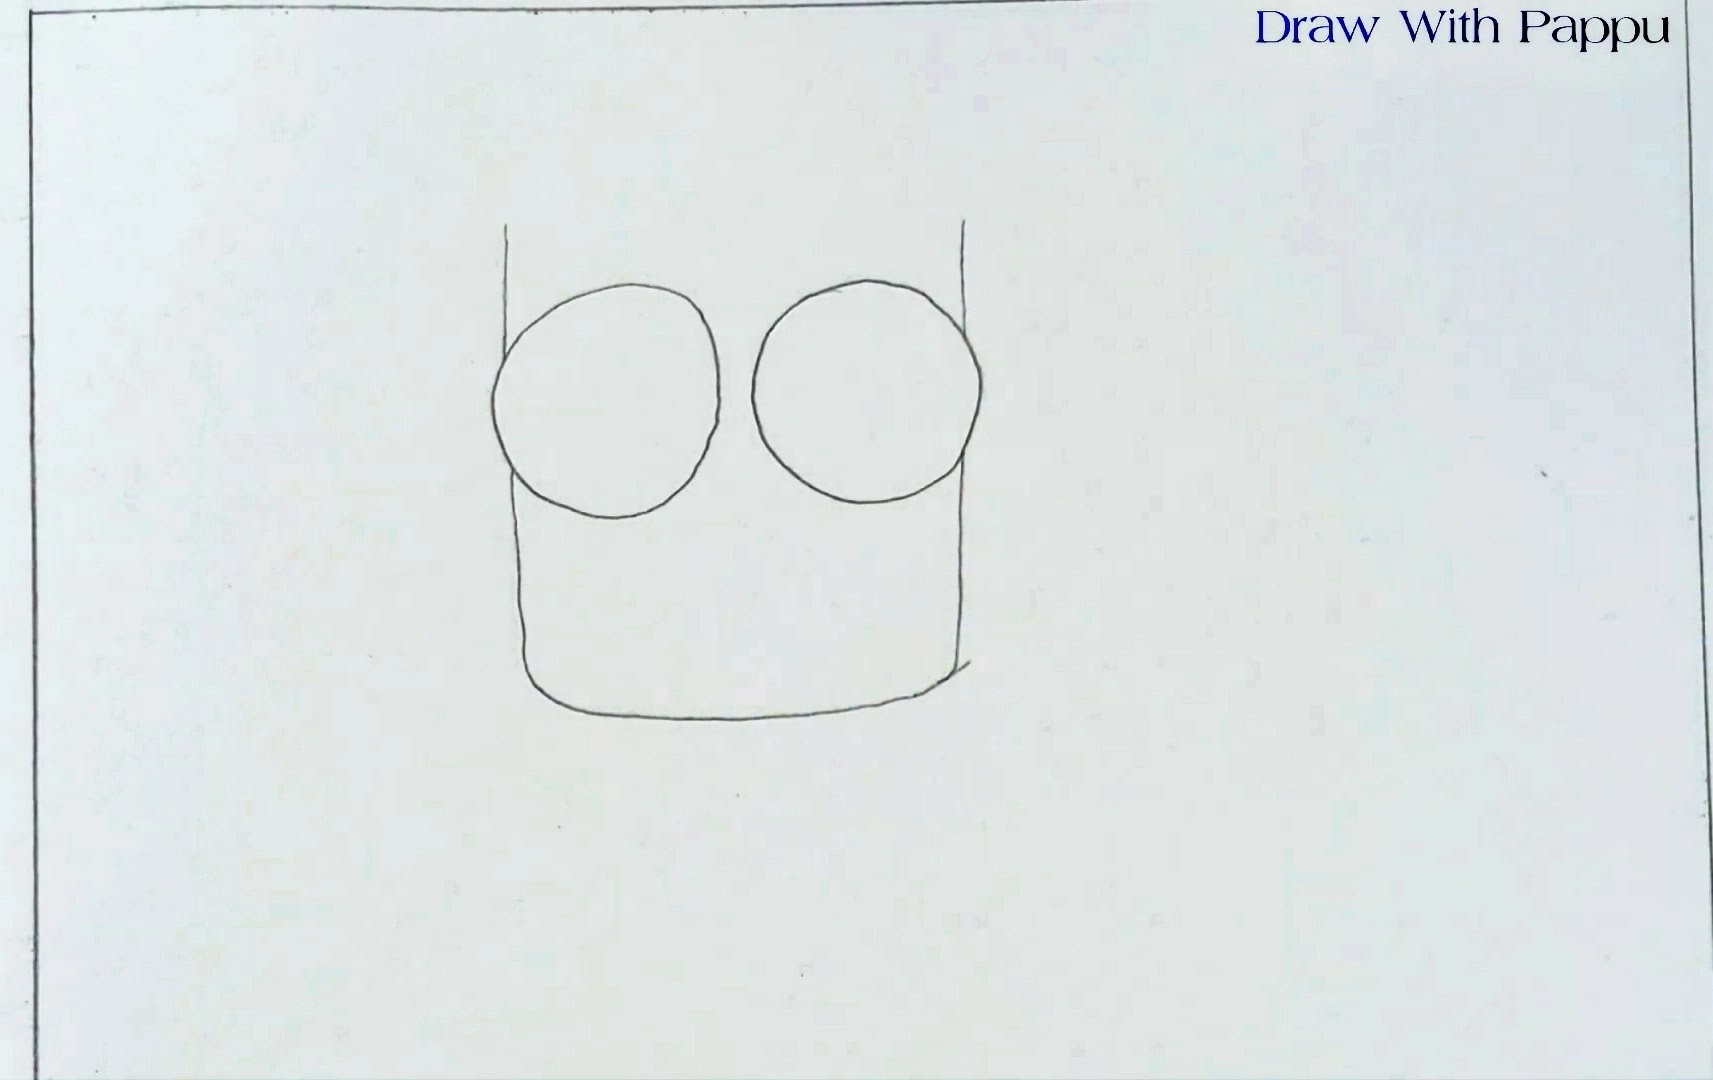
Now, let’s shape the owl’s face. Draw a “U” letter in English to outline the owl’s face. Ensure that the two arcs of the letter ‘U’ touch the circumference of the eye circles, forming the face of the owl. You can refer to the picture above to draw this step in your own notebook.
Step 3 –
Draw the Full Body of the Owl.

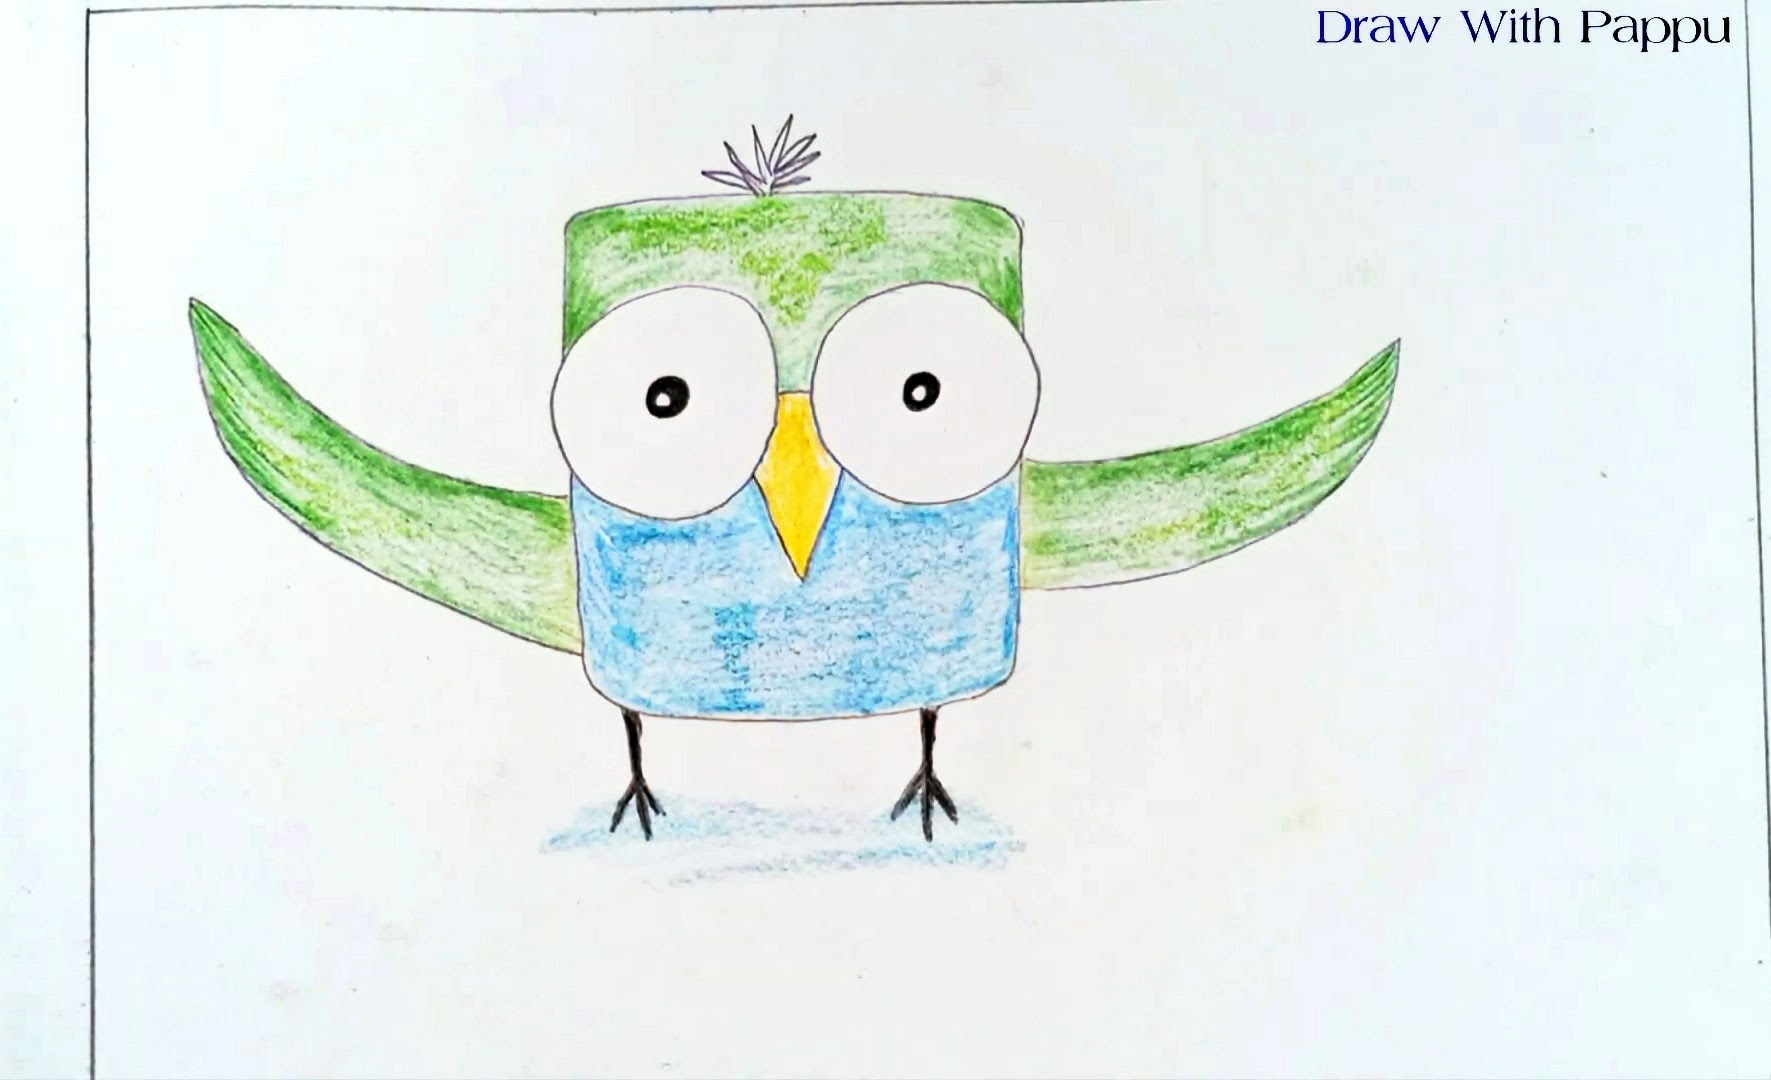
Continuing with our drawing, sketch a triangular nose just below the owl’s eyes. The triangle should sit under the eyes. Next, add two wings on either side of the body. Then, draw two small legs at the bottom of the body. Take your time with this step, as it requires a bit more detail.
Look, our owl outline is almost finished. Now we will slowly paint the owl picture.
Step 4 –
Add Color to the Head and Wings.

Now, it’s time to add some color to our owl drawing. Take a green color pencil and gently shade the owl’s head and wings. While real owls aren’t green, adding a touch of creativity can make your drawing more interesting.
Take a look at what owls actually look like from here – Owls
Step 5 –
Color the Chest and Abdomen Blue.

Moving on, use a blue color pencil to paint the chest and abdomen of the owl. Take your time and follow the picture above to get the right shades.
Step 6 –
Final Touches.

To bring our owl to life, it’s time to add the finishing touches. Use a black color pencil to fill in the bird’s eyes and color the nose yellow. Additionally, color the legs black. To enhance the drawing, consider adding a subtle blue shade under the owl’s feet.
Congratulations! You have successfully completed the owl simple drawing tutorial. We hope you enjoyed this creative journey and are proud of your adorable owl creation. Remember, practice makes perfect, so feel free to experiment with different colors and variations. Keep your creativity alive and explore more fun drawing tutorials on our website “Draw With Pappu.” Happy drawing!
You must draw the picture and send me your picture with the link given below. I will definitely try to give your picture in my story.
Watch Now How To Draw An Owl Step By Step Full Tutorial
Read More Articles: How To Draw a Beautiful Peacock


Leave a Comment