Today we will draw a cute seahorse in a very simple and easy process step by step in this sea horse drawing tutorial. The seahorse’s look is very cute and beautiful. It is usually seen at sea. But you can see it in big aquariums. Have you ever seen Seahorse? Be sure to let me know the answer on WhatsApp or in the comments section.
Every kid knows about seahorses, Who doesn’t know about seahorses click here and learn more about seahorses.
How to Draw a Seahorse For Kids Step by Step :
Here are some easy and simple processes to draw this picture.
Requirement Materials :
Here are the materials we need to draw this picture.
- White paper
- Pencil
- Pencil sharpener
- Eraser
- Color Box
Step 1 :
Take a drawing paper and pencil, then draw the margin of four sides of the drawing paper.

First, take a white drawing paper. Then draw the margins around the white drawing paper with a pencil and scale. The margins will be rectangular in shape. The four angles of the rectangle will be 90 degrees. Let’s all draw a margin by looking at the picture above.
Step 2 :
Draw out the figure.

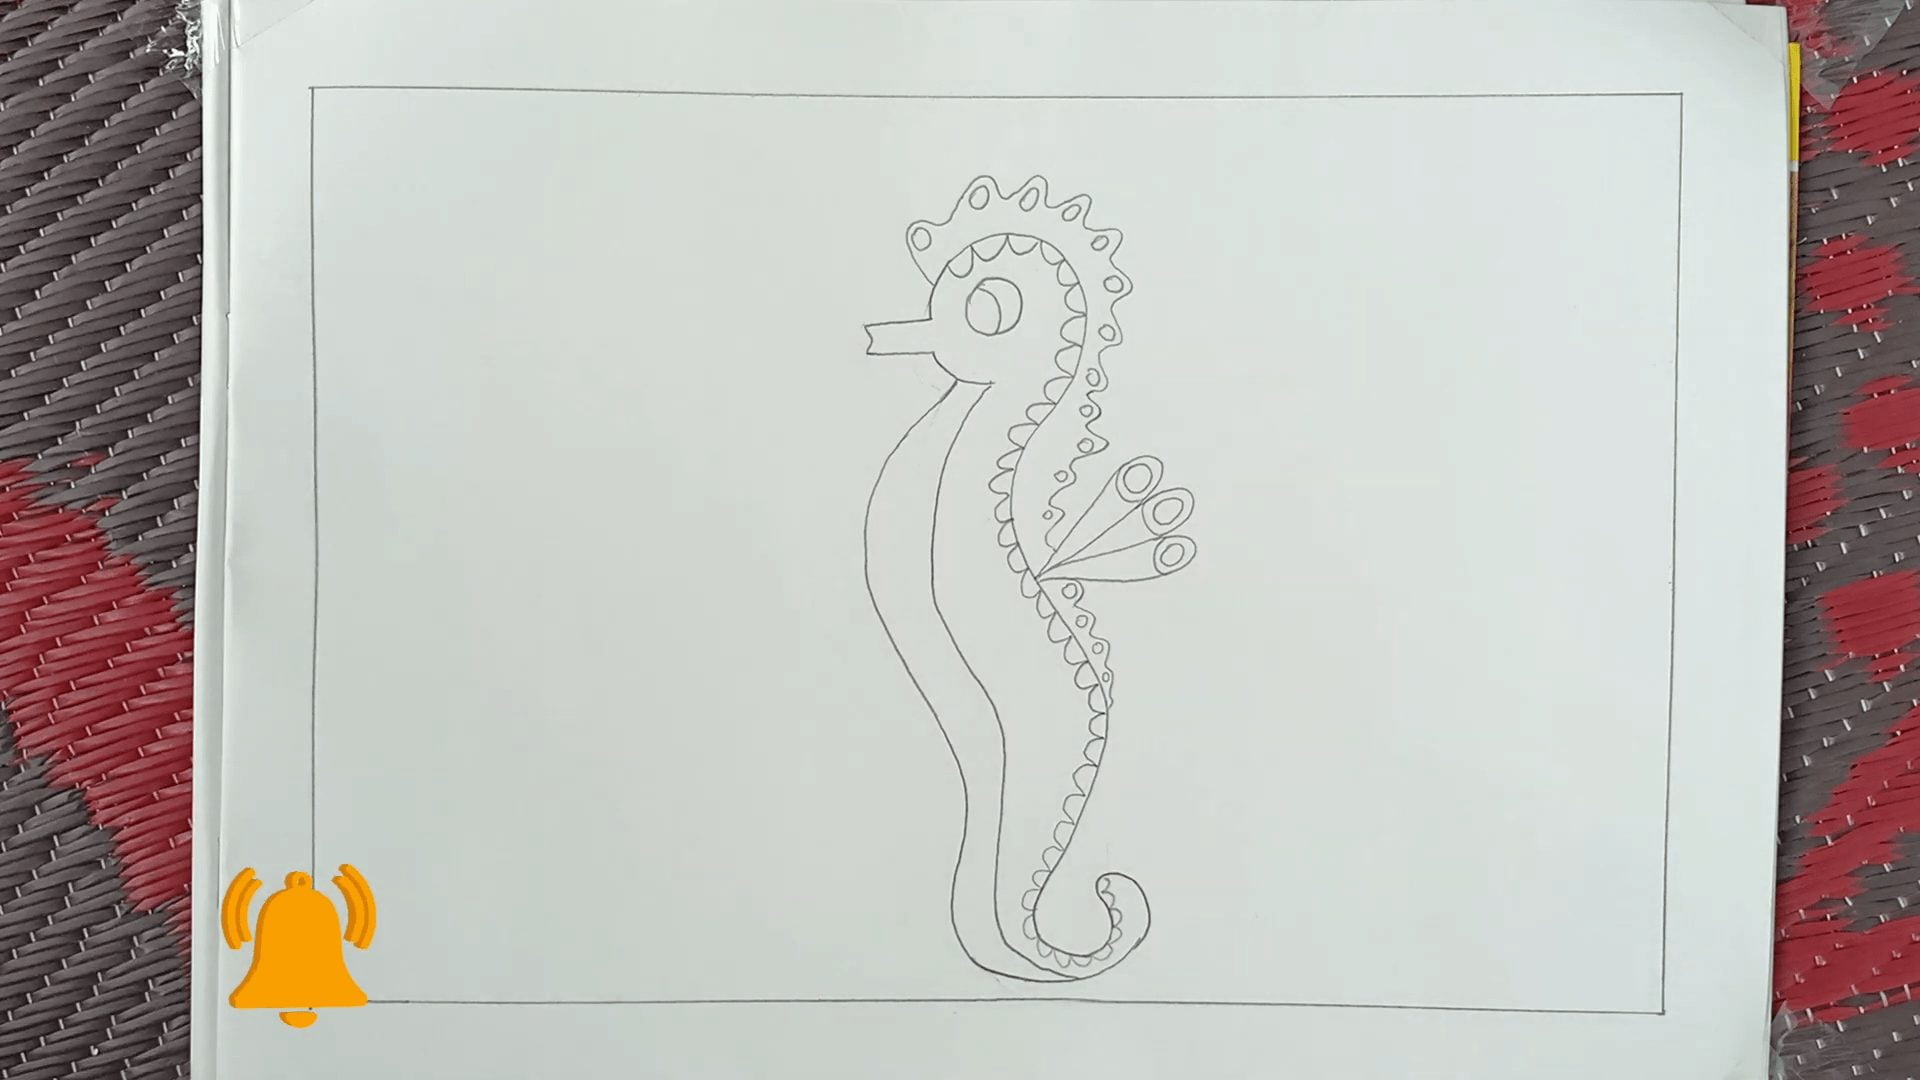
First, draw the snout of the seahorse. It will be a lot like a funnel. Then draw the head, back, tail and belly. Seahorse’s out figure will be a lot more wave-shaped. Look at the picture above and slowly draw the out figure of the seahorse.
Step 3 :
Draw the seahorse’s coronet and dorsal fin.

First, we draw a crooked wave-shaped coronet from head to back. Then we draw a dorsal fin in the shape of a lot of cone shape on the back of the seahorse. Take a good look at the picture above and draw this step.
Step 4 :
Draw the seahorse’s eyes.

In this step, we draw the seahorse’s eyes. The eyes of the seahorse will be a circle shape. Then we drew the seahorse’s eyelids.
Step 5 :
Give some designs in the seahorse’s picture.

First, we draw a number of semicircular designs from the seahorse’s head to tail. Then we give some circle shape designs on the coronet and the dorsal fin. And also draw a belly via a line like the above picture watch and draw it.
Our line drawing of the seahorse is almost complete. First, we all complete our line drawing and then start coloring.
Step 6 :
First color the seahorse’s back.

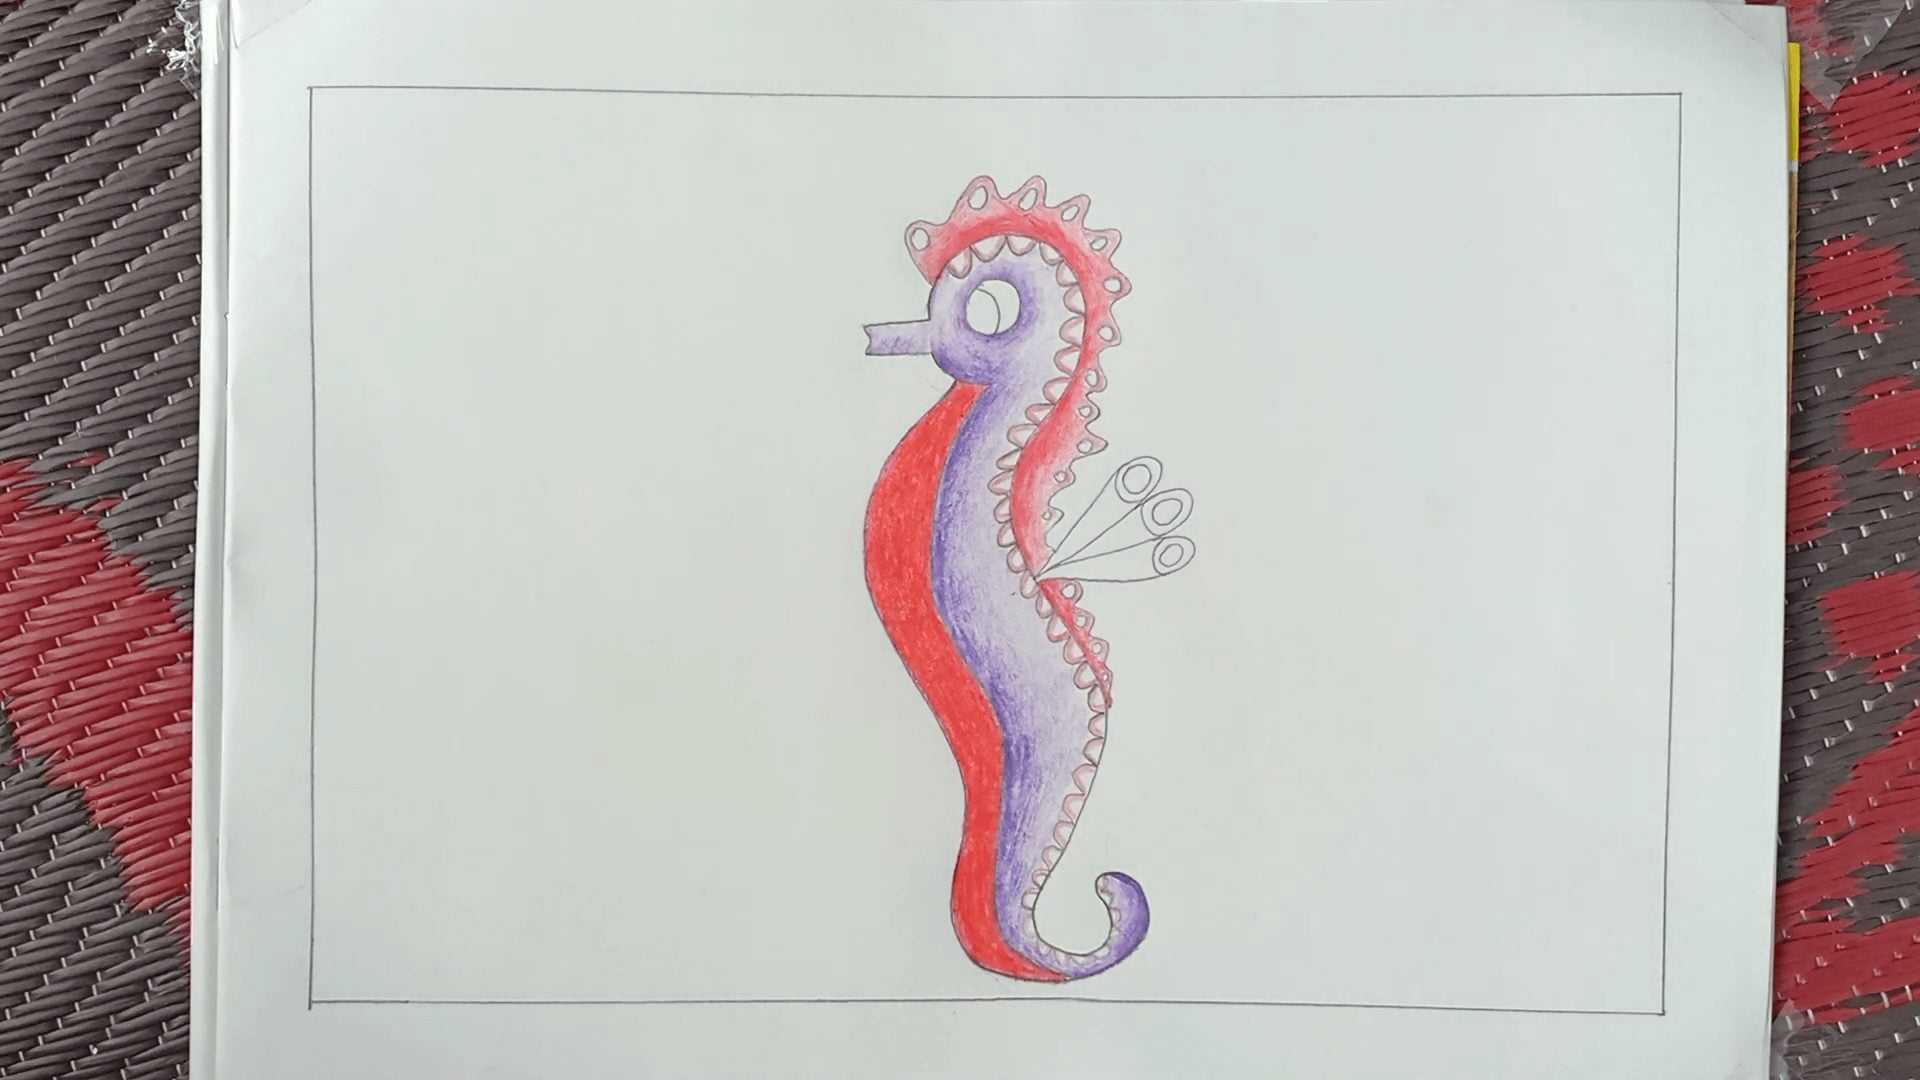
First, take the violet color and give it to the seahorse’s back. Remember we put deep violet color on the border side and light on another side. We also put the violet color on the seahorse’s face and snout.
Step 7 :
Color the seahorse’s belly, coronet, and design.

Now we color the seahorse’s belly red. And also color the coronet. Remember when we color the coronet, we put deep red color on the inner side and be lighter on the outside. Color the outside of the design red. Watch the above picture and color it step by step.
Step 8 :
Color the design on the coronet.

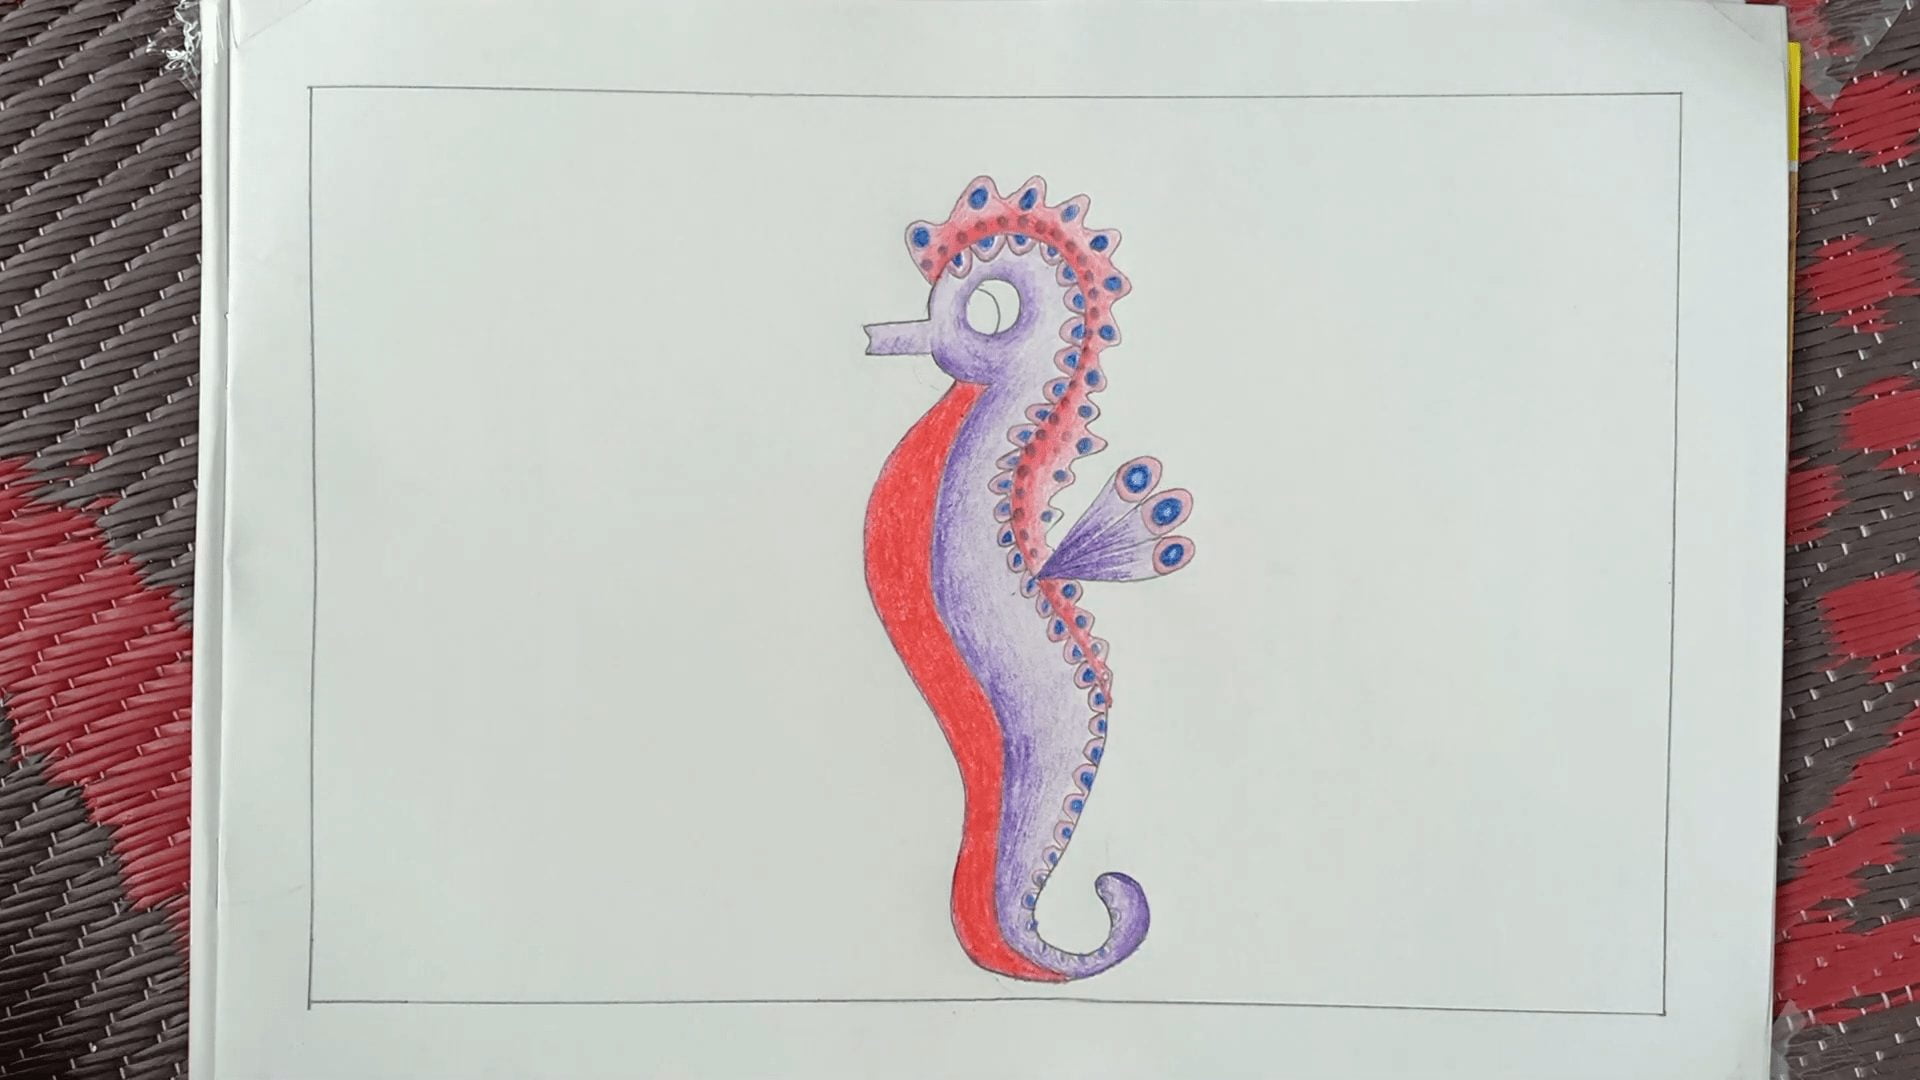
Put the blue dot on the coronet’s design. And also give a blue color dot on the inner side design. Also, put some black dots on the coronet. Look above the figure and color it.
Step 9 :
Color the dorsal fin.

Take the violet color and shade on the dorsal fin like the above figure. And design the font of the fin with pink and blue color. The center will be white then blue and then pink.
Step 10 :
Highlight the border with a black sketch.

Take a black sketch and highlight the border. Then draw some parallel lines on the belly to look more beautiful in our drawing.
Step 11 :
Color the sea and make some water bubble.

Draw some bubbles behind the seahorse. You can draw different types of shapes and color them blue. Then draw the sea environment with blue color.
Look, our drawing is completed. There are many more ways to make pictures like this on our website. And many more pictures will come later. So all of you bookmark this website in our browser and subscribe to our YouTube channel Draw With Pappu.
Read more – How to Draw a Horse


Leave a Comment