In this step-by-step tutorial, we will learn how to draw a beautiful peacock. Follow along with the instructions carefully to create a stunning peacock drawing. Let’s get started!
How To Draw a Beautiful Peacock Step-By-Step Full Tutorial :
Friends, let us learn to draw a peacock easily step by step.

Requirement Materials :
Here are the materials we need to draw this picture.
- White paper
- Pencil
- Pencil sharpener
- Eraser
- Blue, Pink, Purple, Green, Yellow, Orange, Black, Red Color.
1. Draw a Half-Circle.

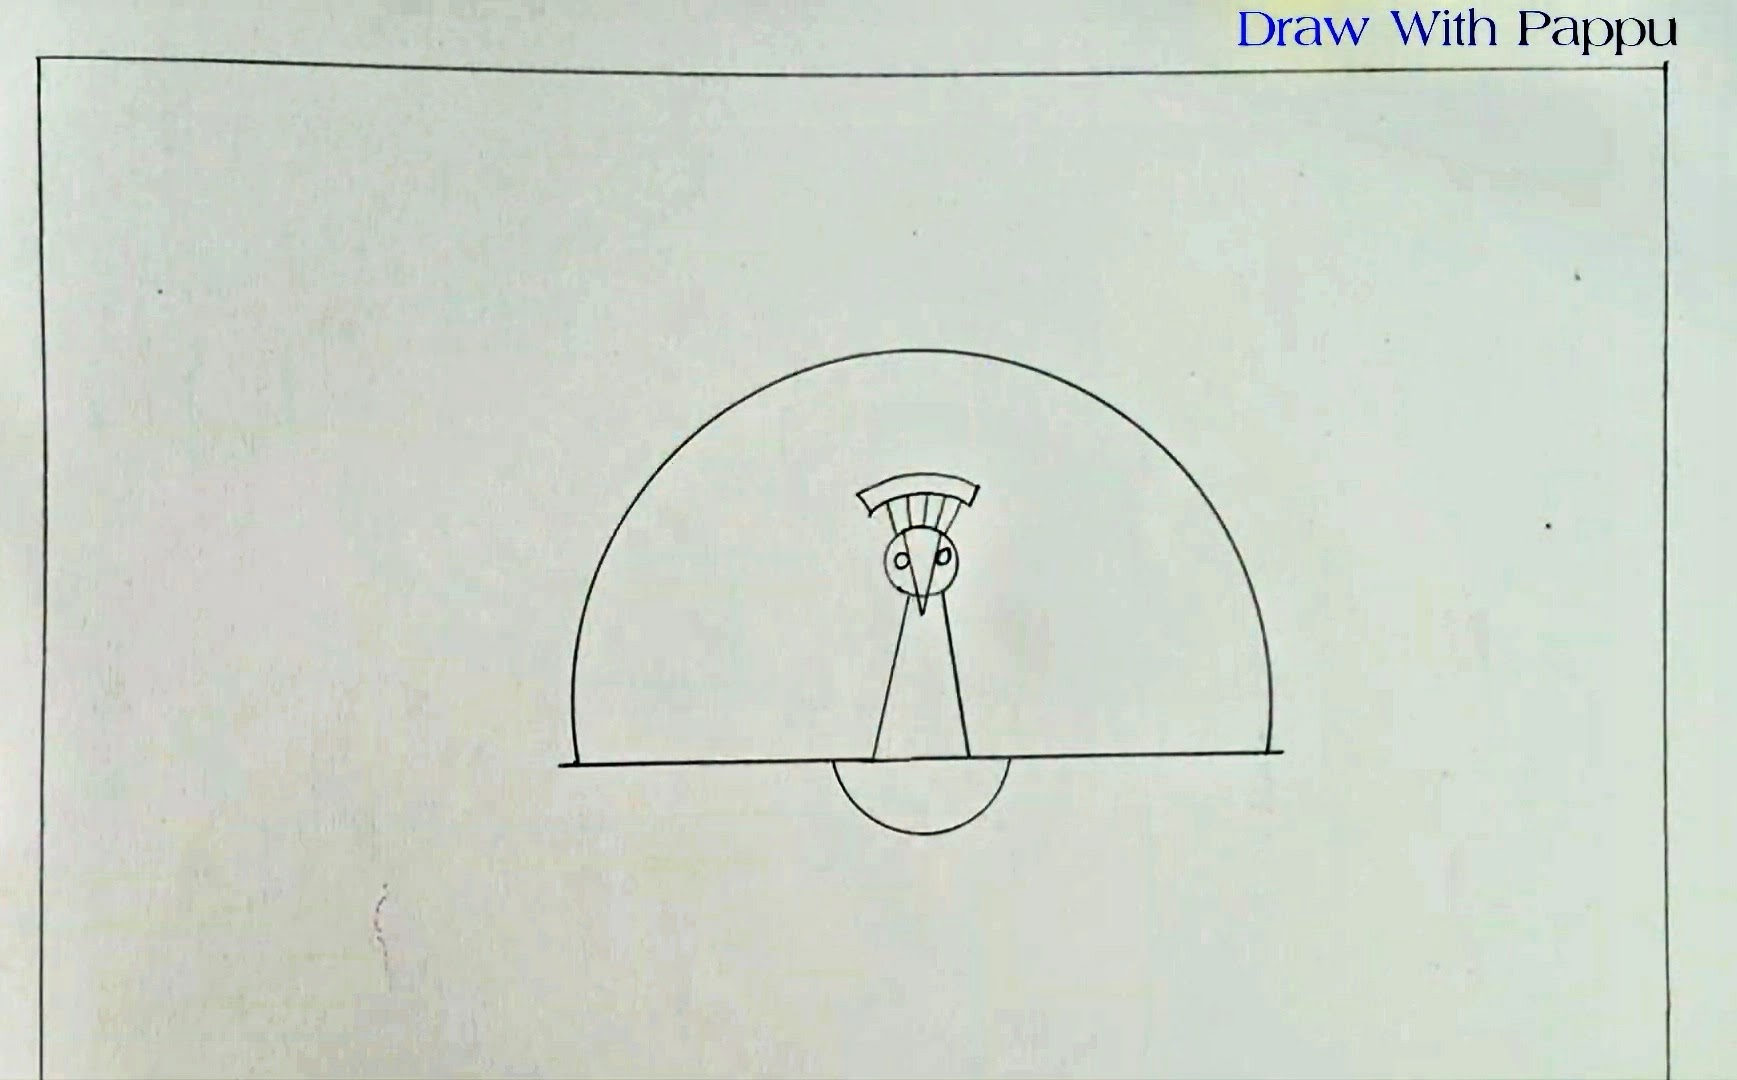
To begin, take a white drawing paper and a black pencil. Create a margin to give your drawing a neat appearance. Now, use a geometry compass or protractor to draw a half-circle at the center of the paper. This half-circle will be the base for our peacock’s body.
2. Draw the Peacock’s Body and Face.

In this step, we will sketch the peacock’s body and face. Follow these simple steps.
- Draw a round face for the peacock. Make sure it’s proportionate to the half-circle body.
- Inside the face, add two small round eyes to give the peacock a charming expression.
- Next, draw a ‘crown-like tuft’ on the peacock’s head, showcasing its majestic appearance.
- Complete the face by adding a beak with delicate details.
- Moving on, draw a long throat for the peacock. Refer to the upper picture for guidance on this step, as it requires attention to detail.
3. Draw the Legs.

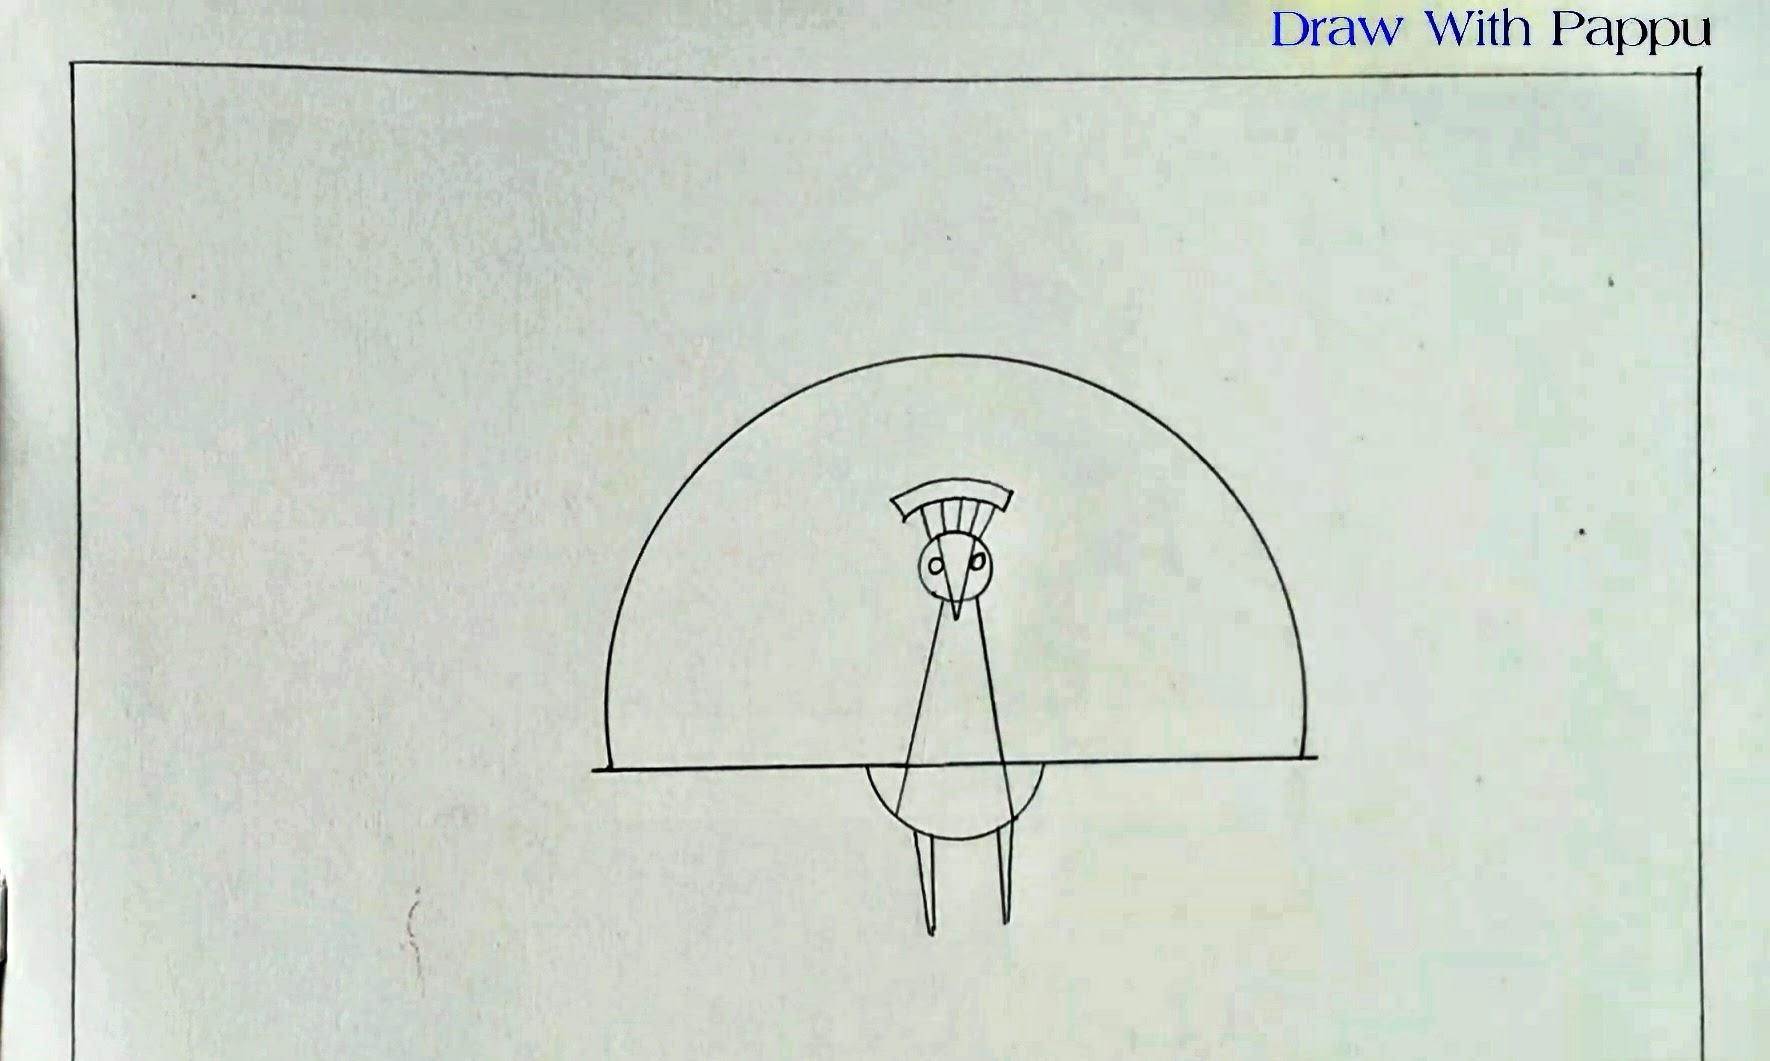
Now, let’s add the legs to our peacock. Draw two long, graceful legs underneath the body, giving the peacock a poised and elegant stance.
4. Add Design Rounds Around the Feathers.

To enhance the beauty of our peacock drawing, let’s add some intricate designs. Use your creativity and draw circles around the half-circle body. Vary the sizes of the circles, but make sure they are uniform in each row.
Look Our line drawing is almost complete. You must send your line drawing of the peacock via social media. Now we color this beautiful peacock.
5. Color the Feathers.

- Now that our line drawing is almost complete, it’s time to add vibrant colors to the peacock’s feathers. Follow these steps from inside to outside for a captivating effect.
- Start with violet, coloring the innermost row of feathers.
- Move on to indigo, followed by blue, green, yellow, orange, and red, respectively.
6. Color the Peacock’s Body and Circular Design.

With the feathers colored beautifully, it’s time to add life to the peacock’s body and the circular design around it. Color the circular design with a bright yellow hue, giving it a striking appearance. Then, color the face, body, ‘crown-like tuft,’ and throat in a captivating shade of blue. Make the eyes yellow to bring them to life, and color the legs in a rich violet hue.
7. Draw the Legs.

Use a black sketch pen to outline the legs of the peacock, providing them with a defined look. This step adds depth and dimension to the drawing.
Congratulations! You have successfully created a stunning peacock drawing. Now, share your masterpiece on social media to inspire others with your artistic talent. If you enjoyed this tutorial, there are many more exciting drawing tutorials available on our website. Don’t forget to subscribe to our YouTube channel, “Draw With Pappu,” for future updates and even more fascinating drawing tutorials.
Remember to bookmark our website for easy access to future tutorials and stay updated with the latest content. Happy drawing!
You must draw the picture and send me your picture with the link given below. I will definitely try to give your picture in my story.
Watch How To Draw a Beautiful Peacock Step By Step :
Read More: How To Draw a Flamingo Step By Step – Easy Drawing For Kids – Click Here


Leave a Comment