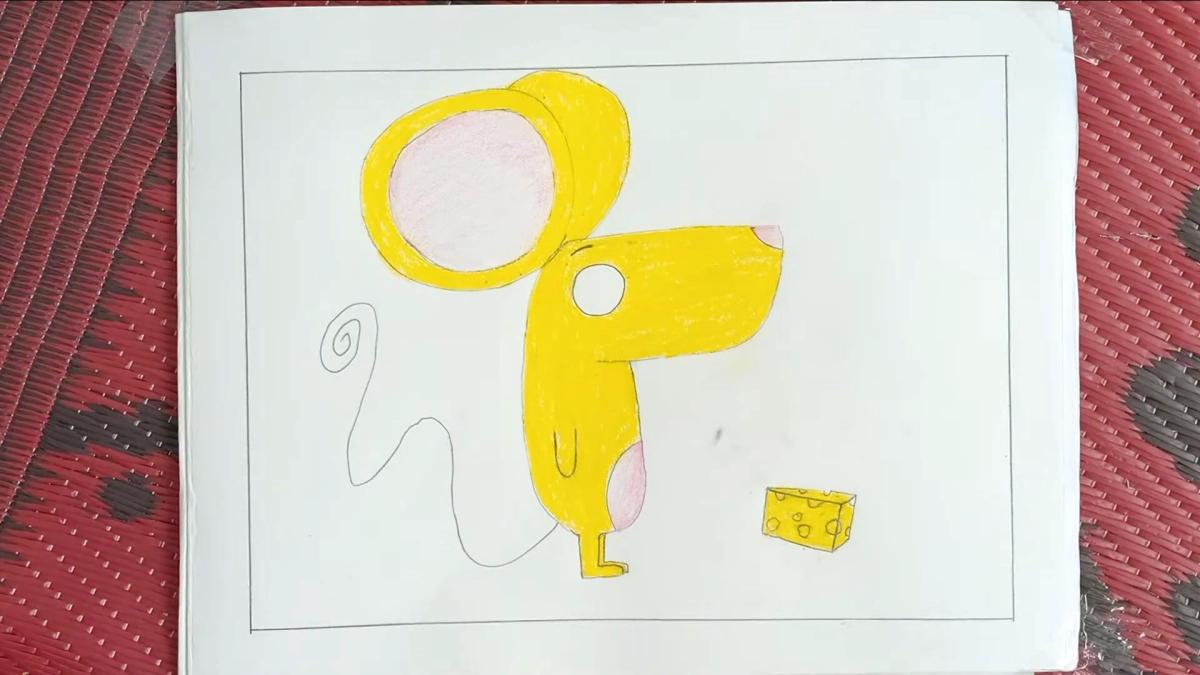
Learning how to draw a mouse can be a fun and rewarding experience. In this easy mouse drawing tutorial, we will guide you step-by-step through the process of creating a cute mouse illustration. Whether you’re a beginner or an aspiring artist, follow along and let your creativity flow!
How to Draw a Mouse For Kids Full Tutorial
Here are some easy and simple processes to draw a mouse for kids.

Requirement Materials :
Here are the materials we need to draw this picture.
- White paper
- Pencil
- Pencil sharpener
- Eraser
- Color Box
- Tissue paper
Step 1 –
Drew Margin First.

To start, take a white paper and draw margins around it. These margins should be rectangular, giving your paper a clean and beautiful look.
Step 2 –
Draw the Mouse’s Head.

Begin by drawing the mouse’s head. Create a funnel shape to form the mouse’s adorable head.
Step 3 –
Draw the Mouse’s Body.

Next, draw the mouse’s body. Start by drawing a vertical line from the head to the bottom. Then, add a spot on the side of the face, extending straight down.
Step 4 –
Make the Mouse’s Legs.

After drawing the body, it’s time to add the legs. In our illustration, the mouse has two legs. Keep in mind that real mice have four legs, but for the purpose of this drawing, we’ll use two legs to make it simple and cute.
Step 5 –
Draw the Mouse’s Stomach.

Now, let’s draw the mouse’s stomach. Create a semicircle shape for the stomach, using your free hand to draw it neatly.
Step 6 –
Make Ears.

Draw two large circles to represent the mouse’s ears. Draw them manually, without using any gadgets, and place them on both sides of the head.
Step 7 –
Draw a Hole Inside the Mouse’s Ear

Add a small hole inside each ear to depict the earholes, just like in real mice.
Step 8 –
Draw Eyes and Nose.

Time to draw the mouse’s eyes and nose. Make the nose triangular in shape. For the eyes, draw small circles and add cute eyebrows above them.
Step 9 –
Draw the Mouse’s Hand and Tail.

Draw a “U” shape for the hand in the body of the mouse. For the tail, create a curved line slightly above the foot.
Step 10 –
Draw a Food Cake.

Now, let’s draw the mouse’s favorite food – a cake. Make sure to add tiny holes on the cake to give it texture.
Step 11 –
Color the Mouse Yellow.

Grab a yellow color and fill in the ears, mouth, hands, feet, and the food cake with this vibrant color.
Step 12 –
Give Pink Color to the Ear’s Hole, Nose, and Belly.

Add a touch of light pink to the inside of the ears, the nose, and the abdomen for a charming effect.
Step 13 –
Paint the Eyes, Holes in the Cake, and the Tail.

Paint the mouse’s eyes black, and apply black borders to the tail, the whole body, and the cake. This will make your mouse illustration stand out.
You must draw the picture and send me your picture with the link given below. I will definitely try to give your picture in my story.
Congratulations! You’ve successfully learned how to draw a cute mouse using this easy mouse drawing tutorial. Drawing can be a delightful way to express your creativity, and practicing regularly will improve your skills. Share your artwork with us using the provided link, and don’t forget to subscribe to our YouTube channel, “Draw With Pappu,” for more drawing tutorials and illustrations. Happy drawing!


Leave a Comment