This article provides a step-by-step guide on how to draw a polar bear, including the materials you will need. It is aimed at kids and beginners and provides easy-to-follow instructions on each step of the drawing process. The instructions include drawing the shape of the face, the bear’s nose and eyes, the whole body and legs of the bear, the bear’s hand, painting the left side of the bear, highlighting the bear body edges, making the fingers of the bear’s hands and feet, and painting the ice. The article also provides helpful tips on how to use color and markers to enhance the details of the polar bear drawing.
Also, learn Cartoon Bear Drawing for Kids.
How to Draw a Polar Bear Step by Step For Kids/Beginners
Here are some easy and simple steps to draw the polar bear.

Requirement Materials :
Here are the materials we need to draw the polar bear picture.
- White paper
- Pencil
- Pencil sharpener
- Eraser
- Color Box
- Tissue paper
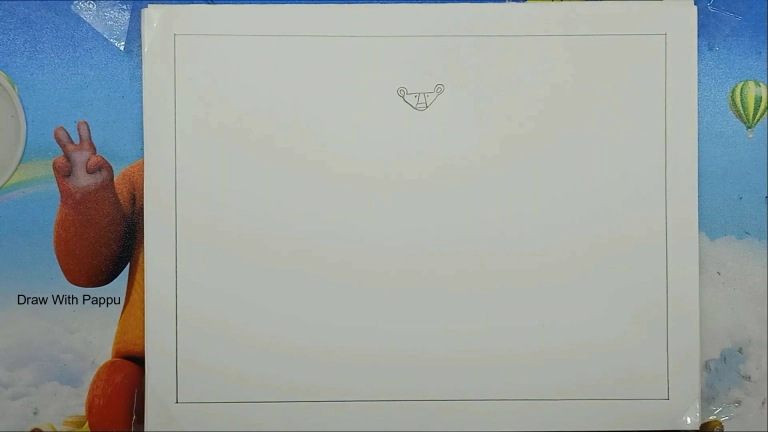
1. Draw the shape of the face.

First, we will take the white paper. Draw the margins leaving half an inch to draw the margins evenly around the white paper. Draw two round ears of a polar bear in the drawing. The polar bear’s face is triangular in shape.
2. Now draw the bear’s nose and eyes.

We draw the long nose of the polar bear right in the middle of the triangle. Draw the bear’s eyes by making two dots on the side of the nose.
3. Draw the whole body and legs of the bear.

Draw the shape of a glass bottle on the body of the bear. Then draw two legs of the polar bear on either side under the body. The legs will be much thicker.
4. Now draw the bear’s hand.

Draw the bear’s hands on the bear’s body. Draw the bear’s two hands in the same way following the upper figure. The bear’s hands are very thick and strong.
5. Paint the left side of the bear.

We will use blue color to color the left side of the polar bear drawing. Make the blue color very light. The light blue color will be just to the left side. Do not give any color on the right side.
6. Highlight the bear body edges.

With a black marker pen around the bear, highlight. The bear’s head, hands, and feet will highlight everything.
7. Make the fingers of the bear’s hands and feet.

Color the bear’s hands and toe fingers well with a black marker pen. The bear hunts with big fingernails. He hunts and eats with that hand. Our polar bear drawing is almost done.
8. Paint the ice.

We’ll paint some ice under the bear’s feet. Everyone knows the color of ice is white. We will use white as well as light blue here. The bear is standing on the ice.
Look our polar bear drawing is almost complete. There are many more drawing ideas like this on our website. And many more pictures will come later. So all of you bookmark this website in our browser and subscribe to our YouTube channel Draw With Pappu.
You must draw the picture and send me your polar bear drawing a picture with help of the link given below. I will definitely try to give your picture in my story.


Leave a Comment