Today, we’ll be creating a drawing of a tree using oil pastels. This is a simple and easy drawing that even kids and beginners can do. If you’ve drawn a tree before, let me know by leaving a comment below. We’ll start drawing the tree right away, so get your materials ready!
How to Draw a Tree Step by Step for Kids Full Tutorial
Let’s start drawing pictures of trees without delay, little friends.

Requirement Materials :
Here are the materials we need to draw the picture.
- White paper
- Pencil
- Pencil sharpener
- Eraser
- Color Box
- Tissue paper
1. Draw the tree trunk.
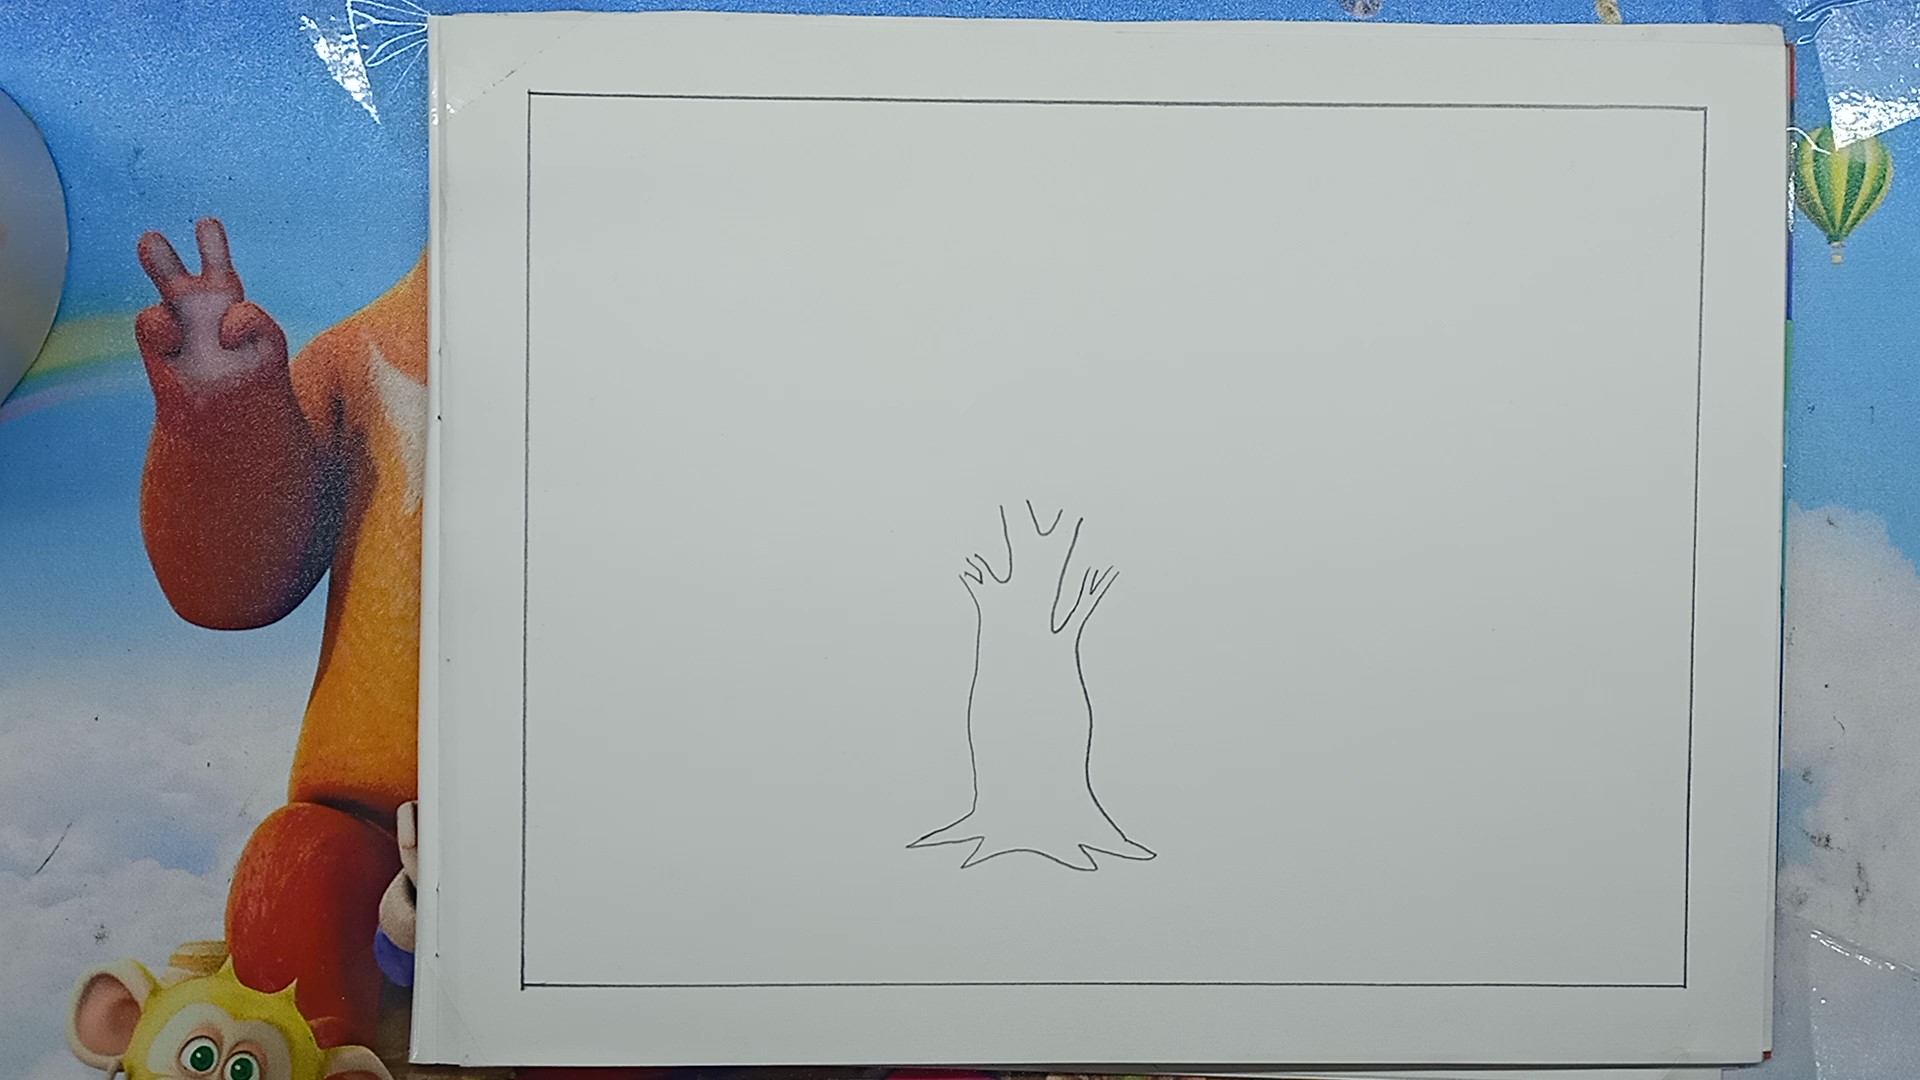
First, we will take the white paper. We will draw margins on white paper. To draw the margin evenly we draw the margin by placing half an inch around it. Draw the tree trunk in the middle under the white paper.
2. Draw the leaves of the tree.
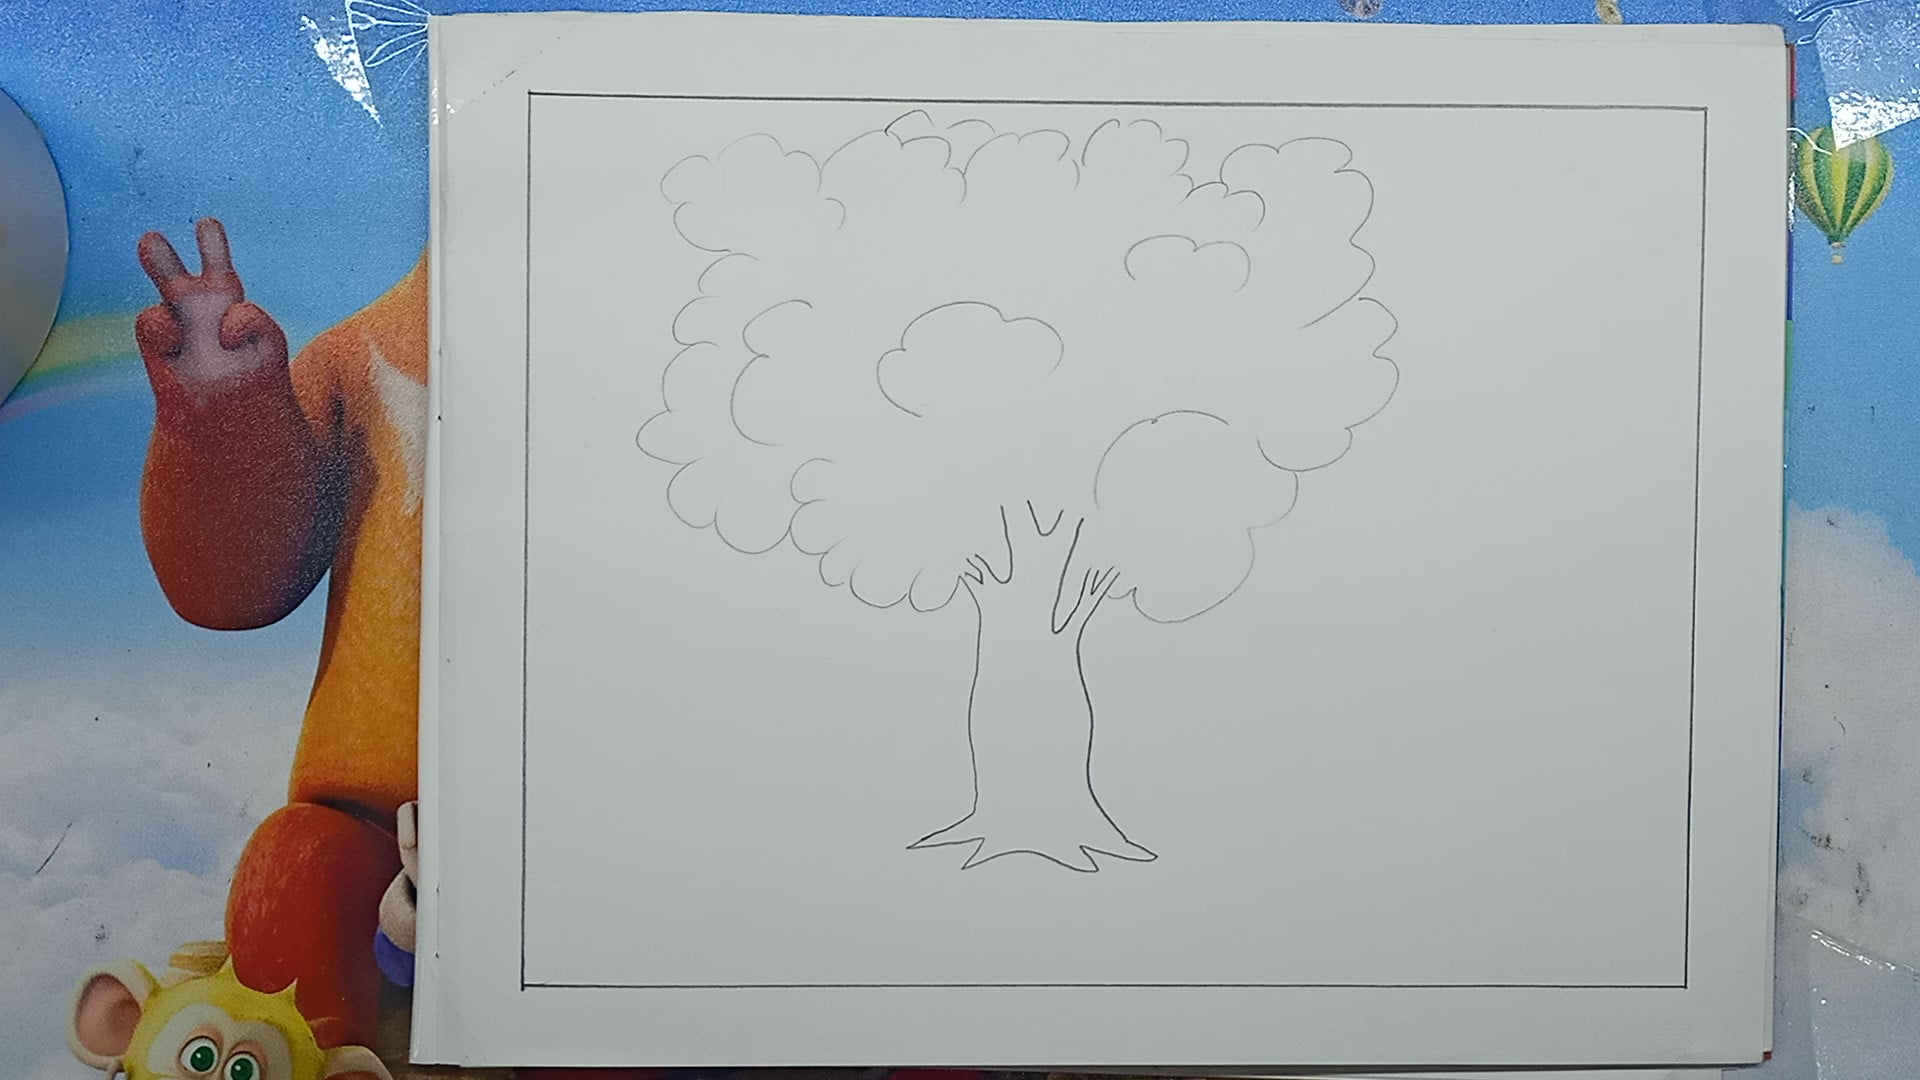
We will draw the leaves of the tree as if the tree is full of leaves. To make the tree thicker, draw its leaves by bending them. Carefully draw the leaves to make the tree look very beautiful.
3. Paint the leaves of the tree.
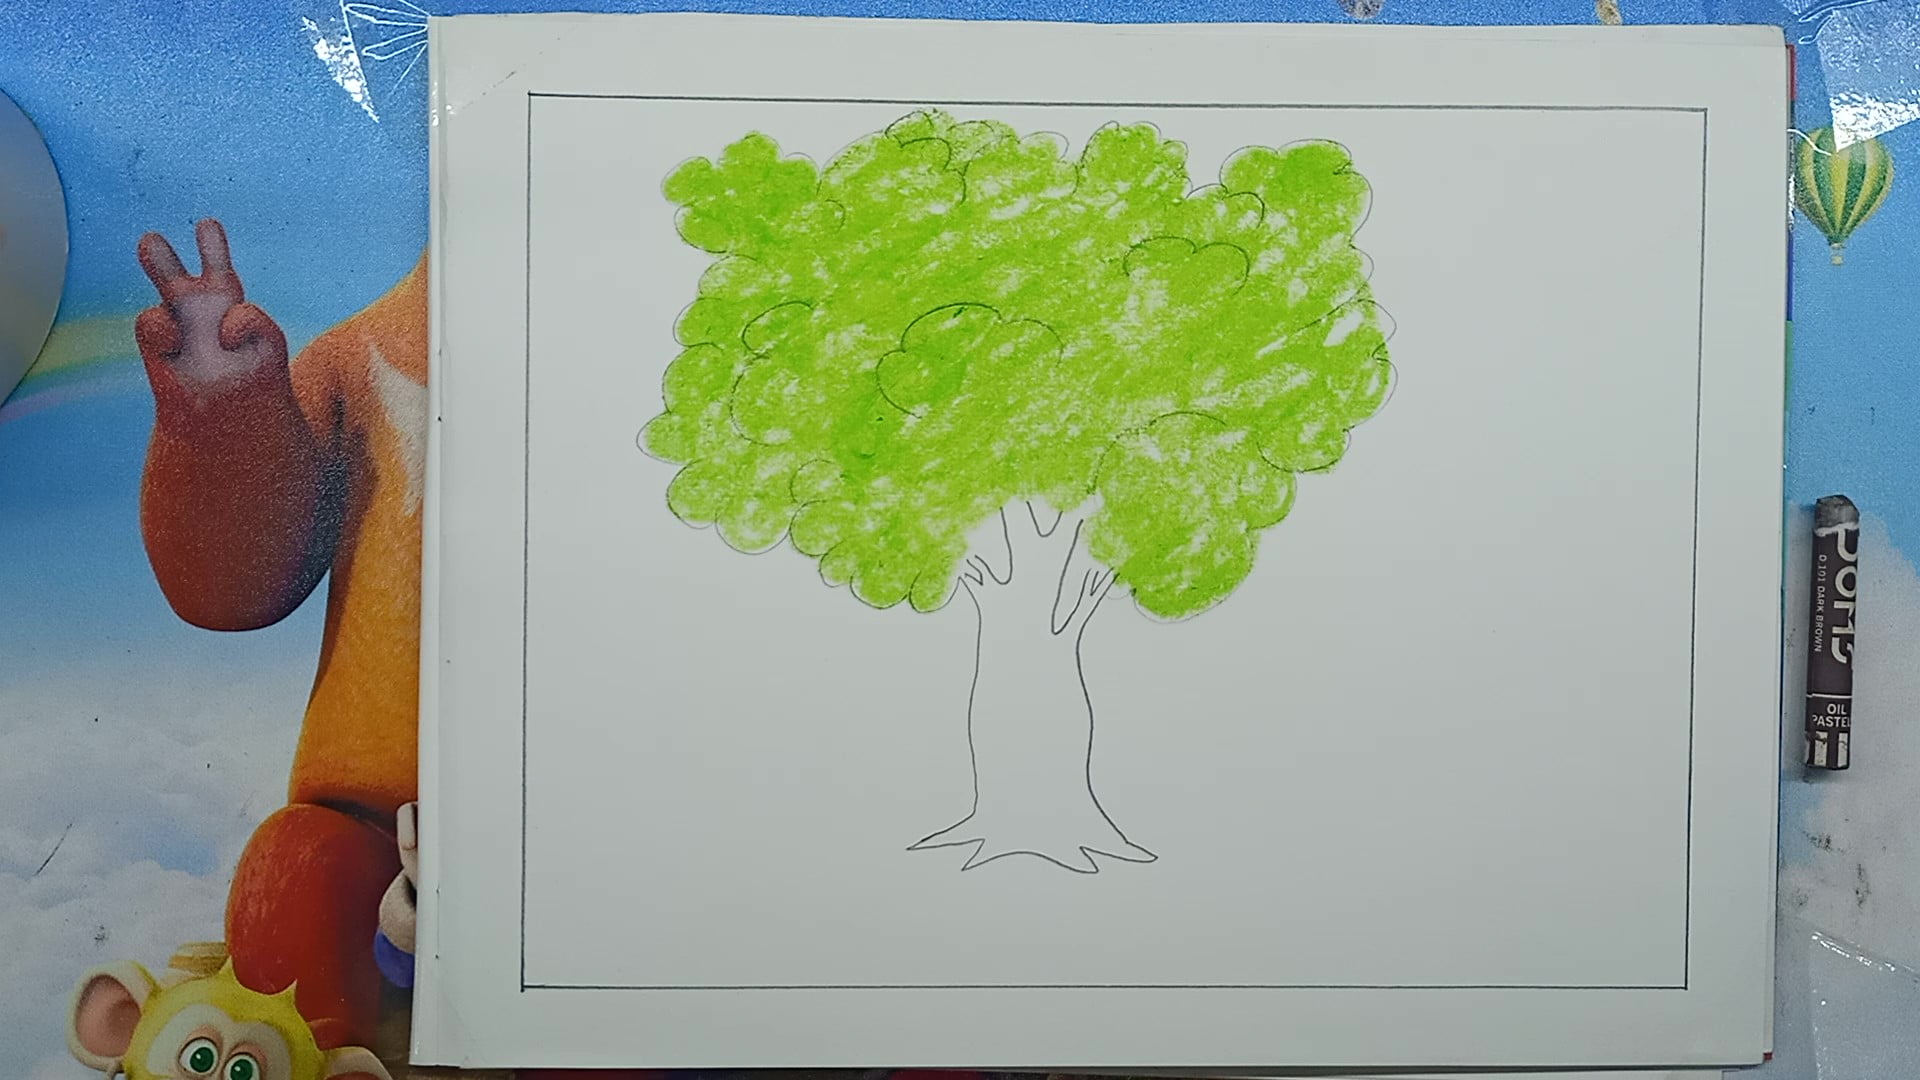
Kids, you all know the color of the leaves is green. So we will use light green to color the leaves of the tree. Make sure that the light green color does not go outside the outline. The light green color will be present only in the leaves.
4. Paint dark green over light green.
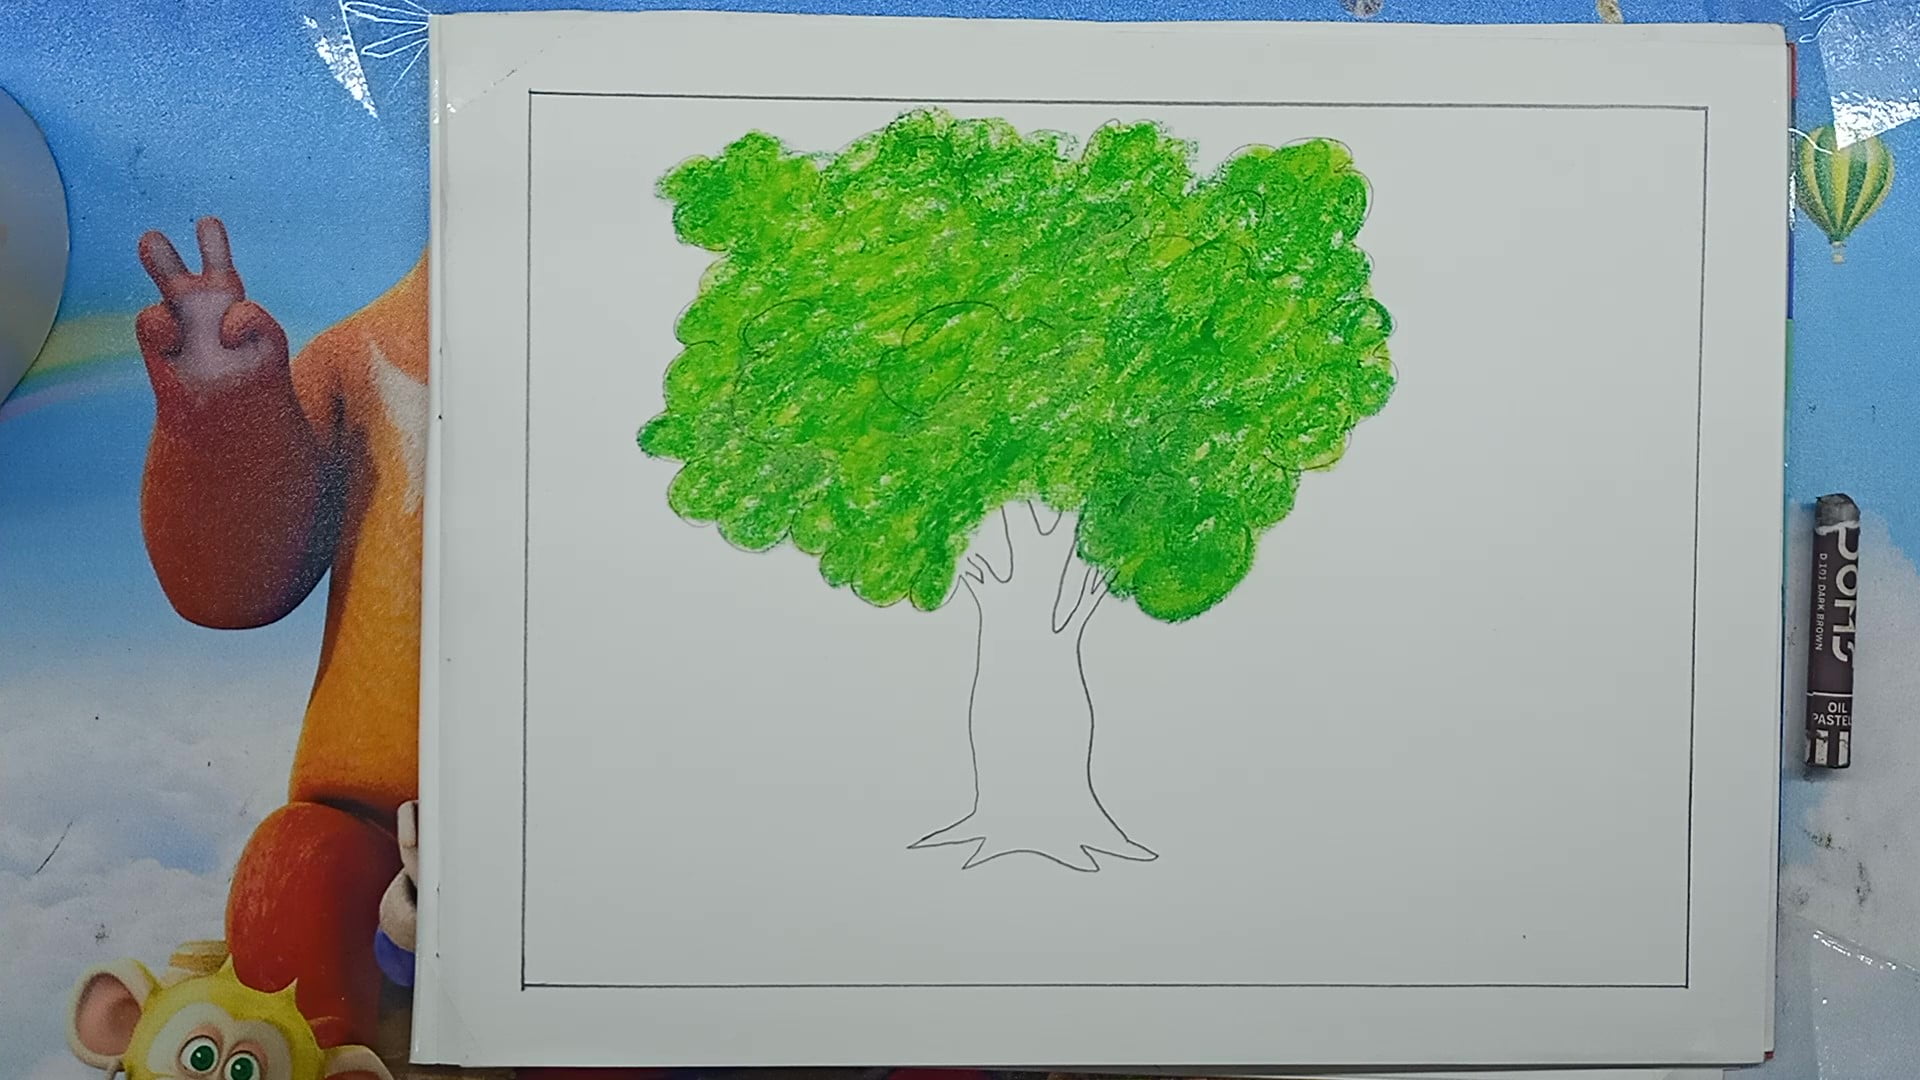
First, we gave it a light green color. Now we will give a dark green color to that light green color. Now look, the leaves look really green, given the dark green color. These green leaves enhance the beauty of nature.
5. Paint the trunk.

The color of the trunk of the tree looks a lot like the color of the soil. But the color we use to paint the soil, we will use the same color to paint the trunk of the tree. That means the color of the trunk of the tree will be brown.
6. Paint the grass.
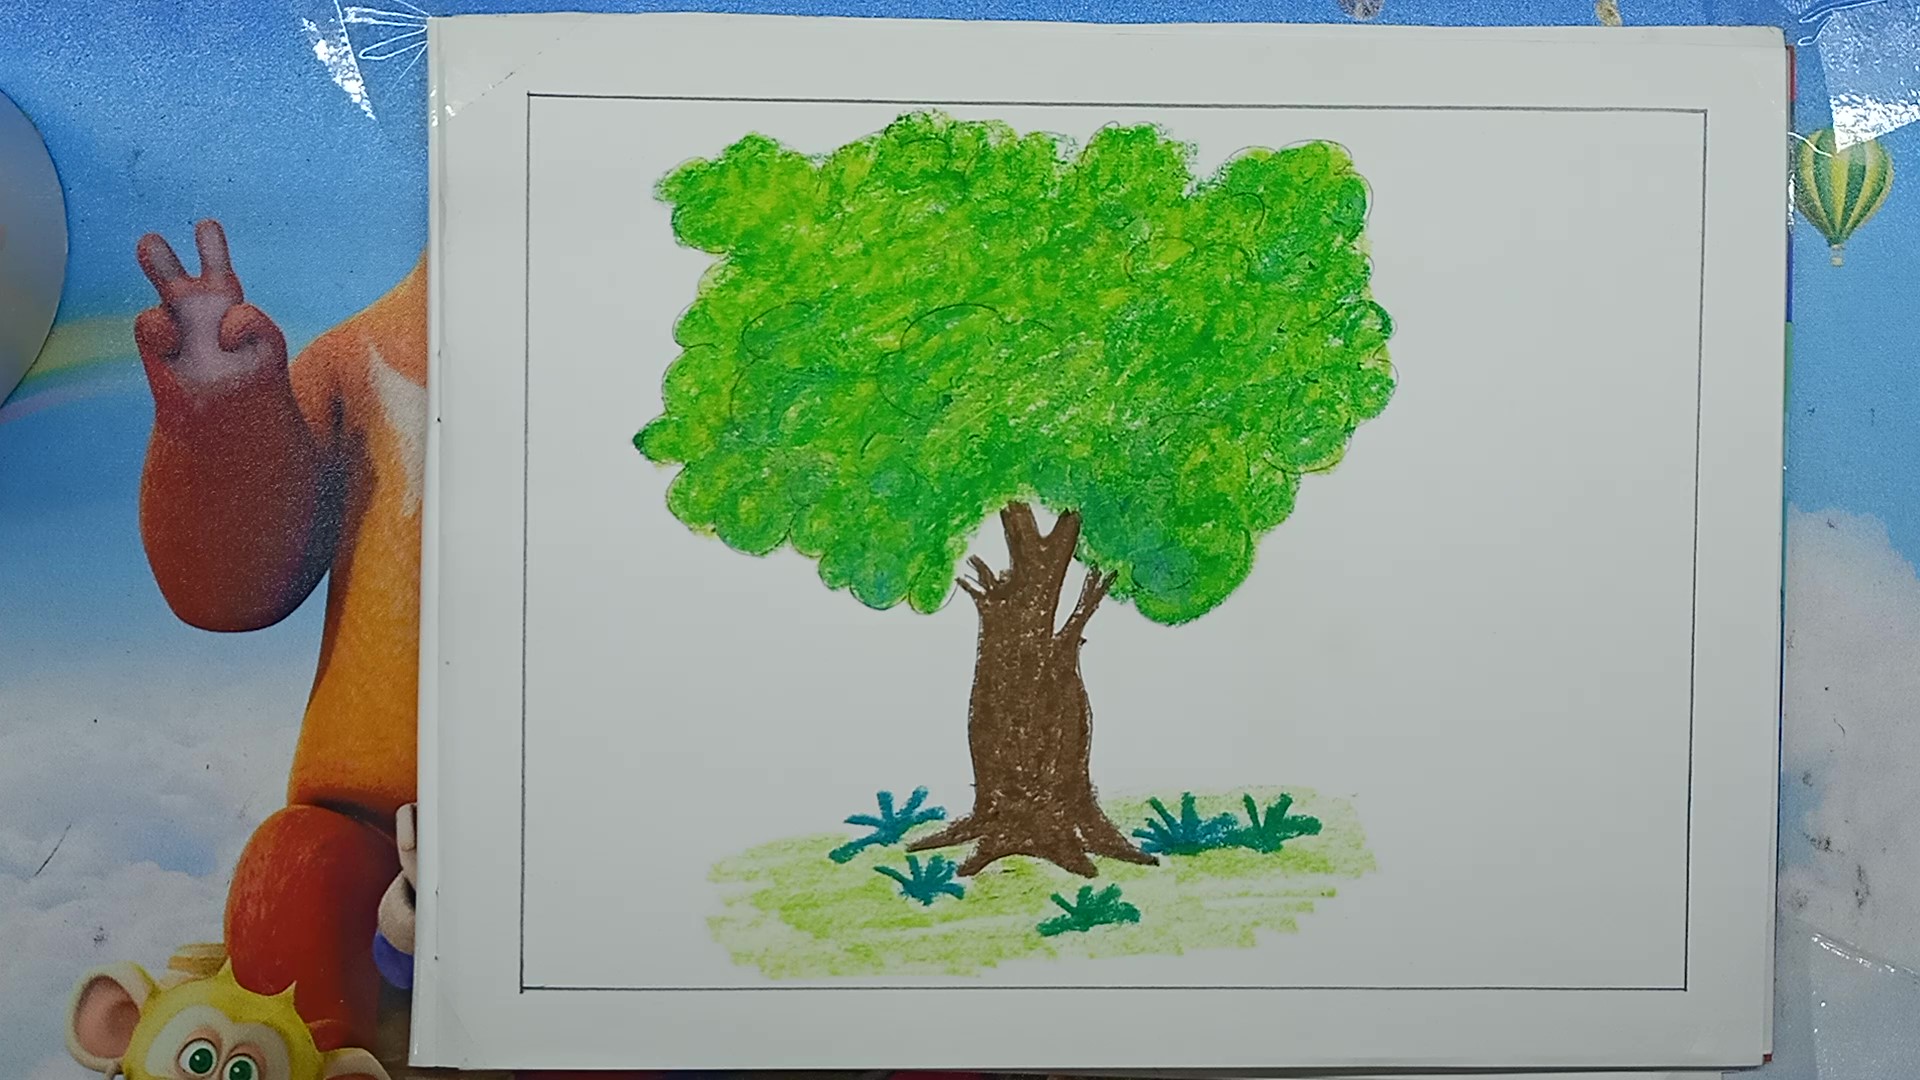
We will paint the grass under the trunk of the tree with green paint. We will paint the floor under the tree trunk with light green color. See how nice the place under the tree trunk looks for the grass.
7. Give the border.
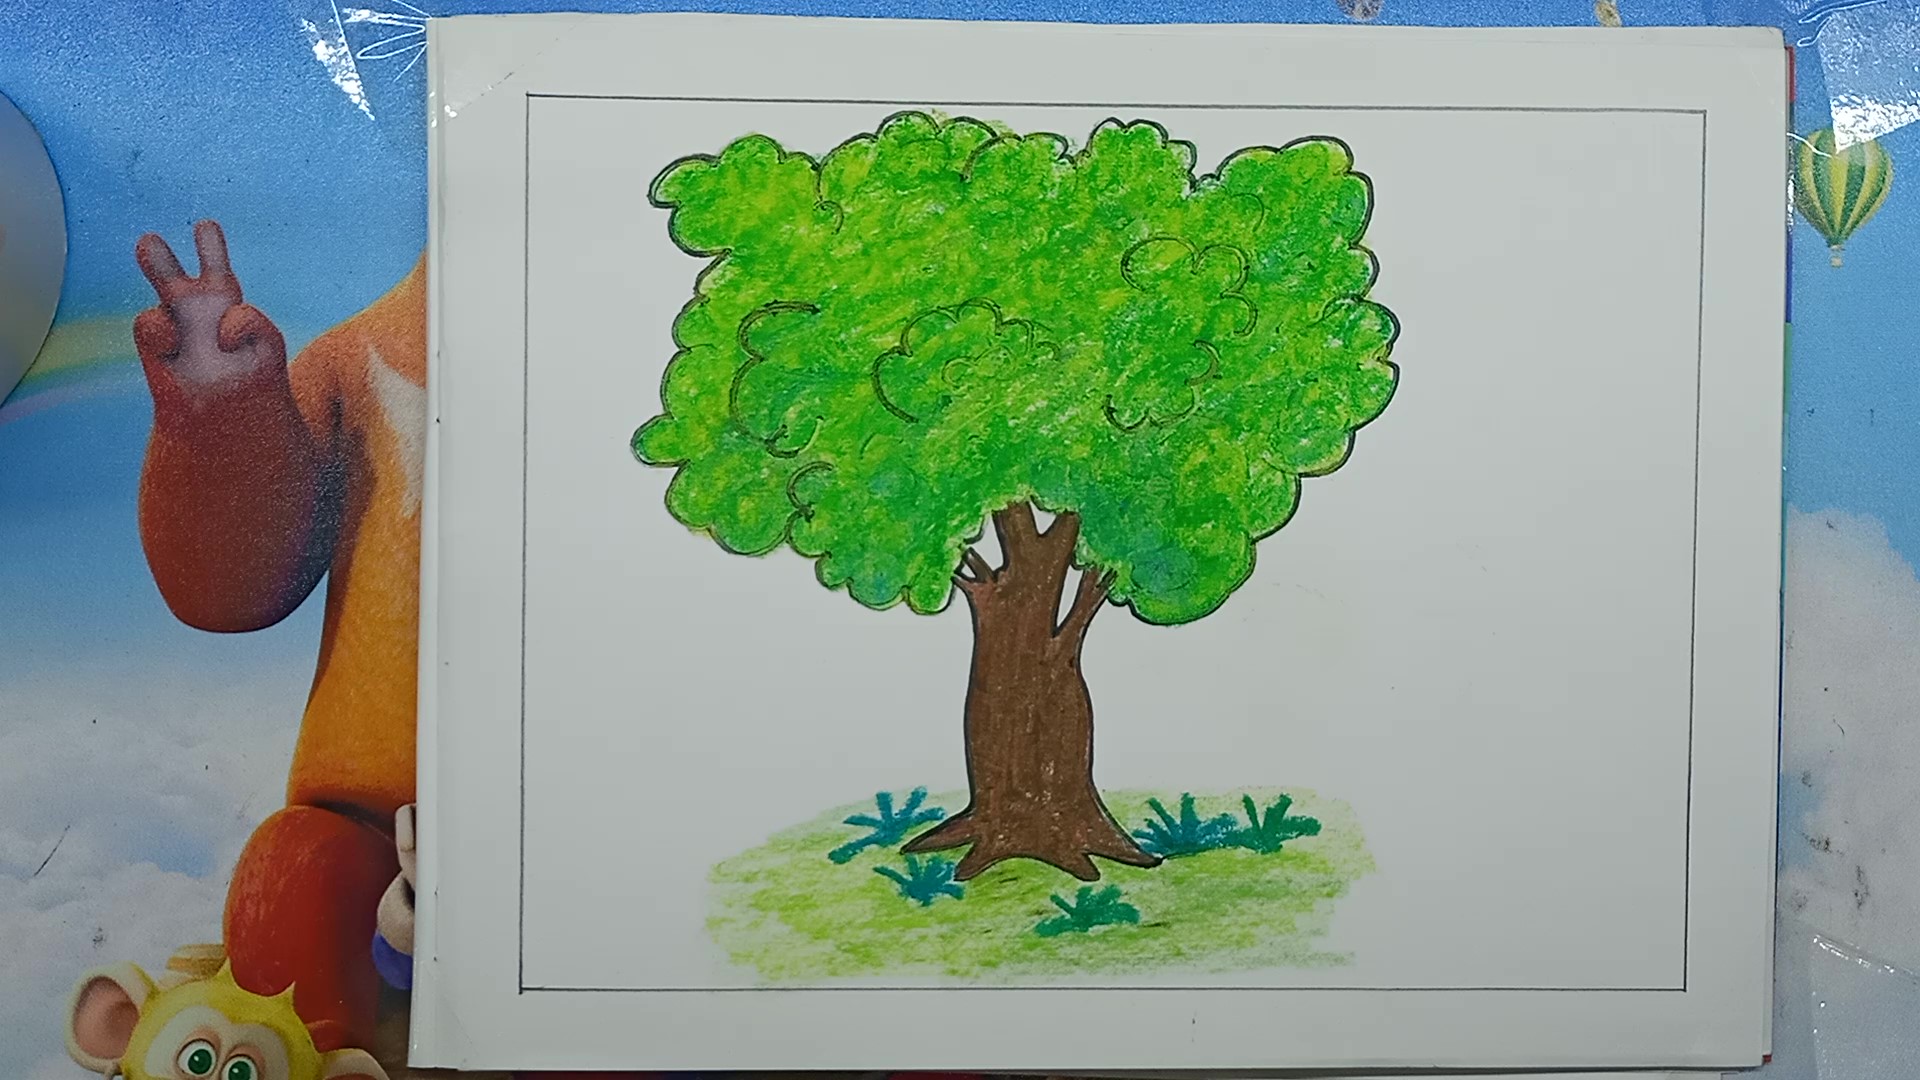
We will give the border around the trunk and leaves of the tree. To see if any coloring time has gone out of the outline by mistake. We will give the border with a pencil. And we will rub the floor under the tree trunk a little better with a light green color.
8. Paint the grass flowers.
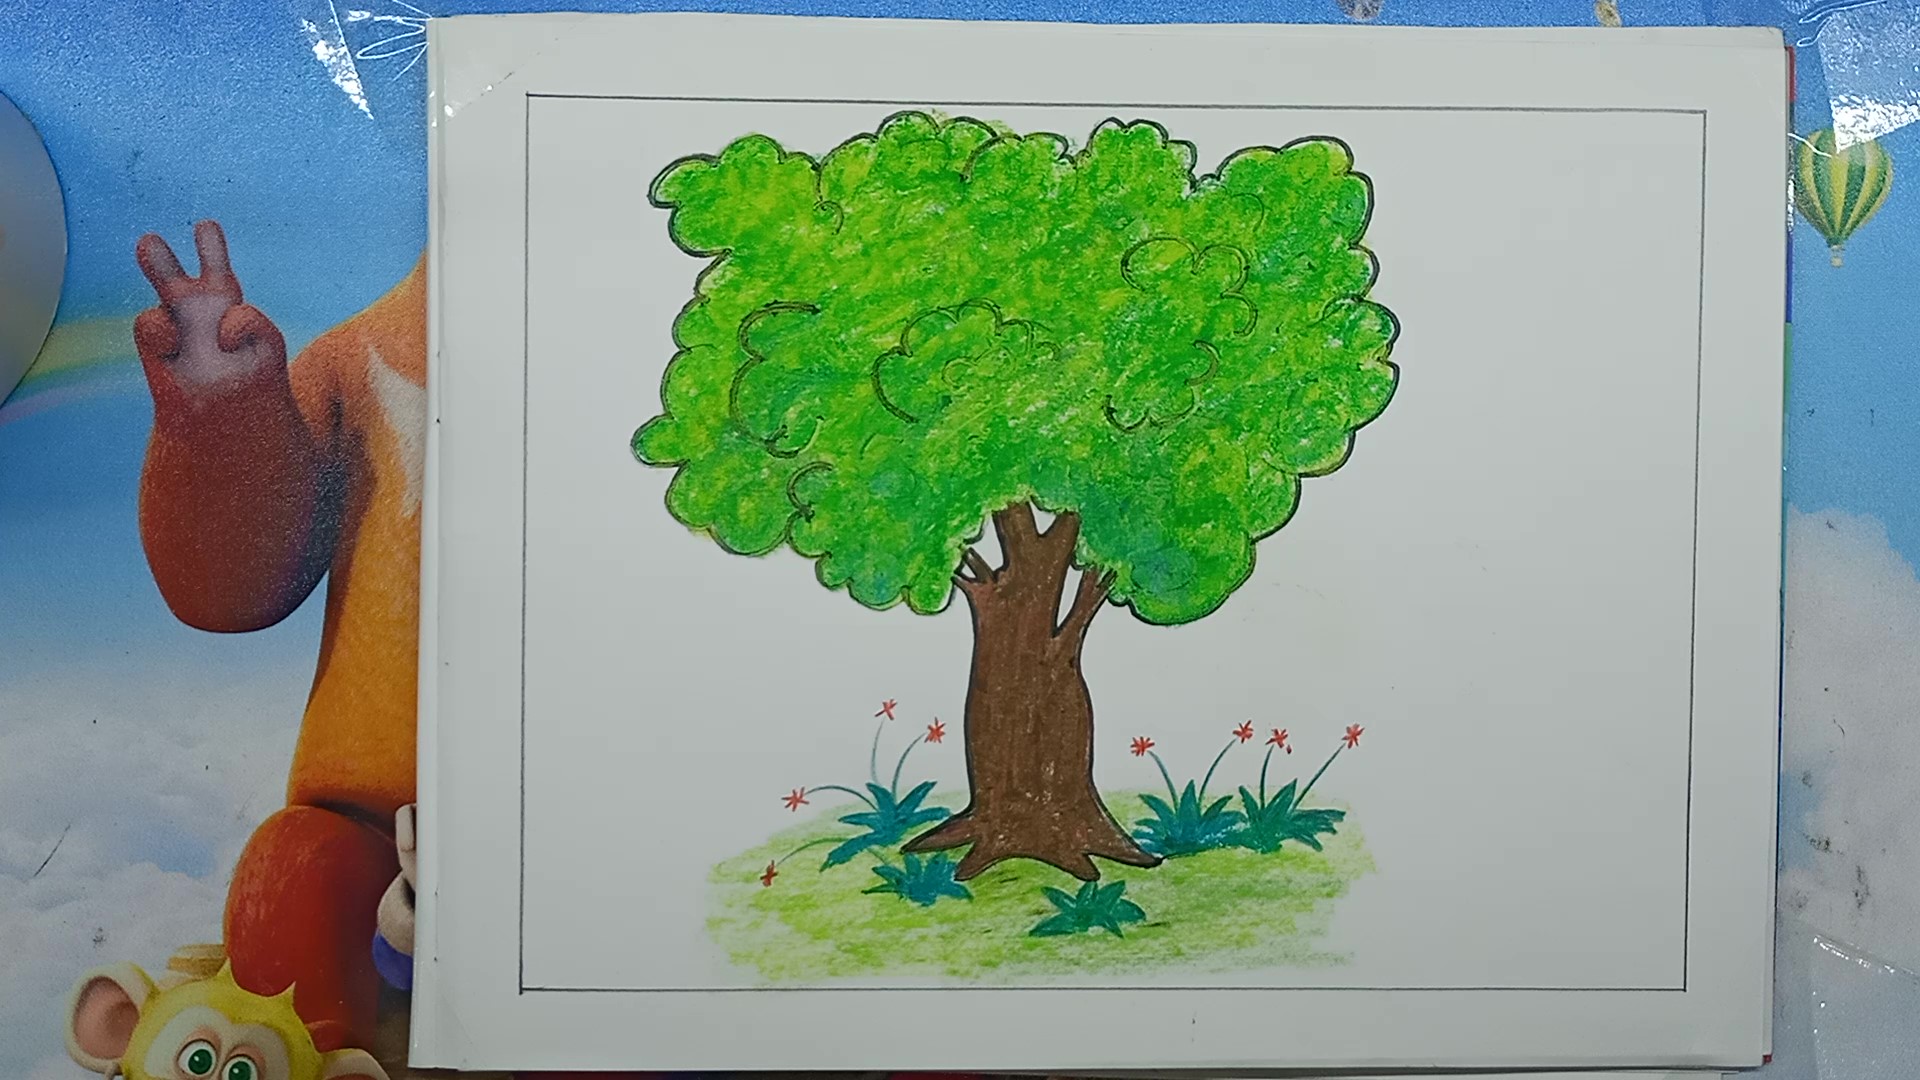
We will draw a lot of grass flowers with pink color. As a result of drawing these pink flowers, the lower part of the trunk of the tree looks very beautiful. But little kids, now that we’ve finished drawing this tree, it’s very easy, we’ve shown you everything step by step, so you don’t have any difficulty understanding.
Look our tree drawing is almost complete. There are many more drawing ideas like this on our website. And many more pictures will come later. So all of you bookmark this website in our browser and subscribe to our YouTube channel Draw With Pappu.
You must draw the picture and send me your tree drawing a picture with help of the link given below. I will definitely try to give your picture in my story.
Read More: Easy Christmas Tree Drawing
Tree Drawing Easy, Tree Drawing Tutorial, Tree Drawing For Kids, Tree Drawing Pencil, Tree Drawing Painting, Tree Drawing Watercolor, Tree Drawing Pencil Colour, Tree Drawing Easy Step By Step, Tree Drawing Art, Tree Drawing Architecture, Tree Drawing Acrylic Paint, Tree Drawing And Colour, Tree Drawing And Its Parts, Tree Drawing And Painting, Tree Drawing And Name, Tree Drawing Activity, A Tree Drawing Easy, A Tree Drawing Step By Step, A Tree Drawing Picture, A Christmas Tree Drawing, Planting A Tree Drawing


Leave a Comment