Little friends how are you all? Hope everybody is doing well by the grace of God. Today we will draw a picture of the landscape of a very beautiful village. If you haven’t seen it, don’t believe how unreal the beauty of the village is. The most perfect time is the beauty of the village in the evening and morning. Today We will teach the children to draw pictures of the beauty of the village. Especially those village areas that are near the edge of the hill. If you have not seen the beauty of the village, then you must go to the village once and enjoy the beauty of the village.
Today, the picture of the village that we will draw is extremely beautiful. The sun is setting on a distant hill. Noisy water is running in the river. On one side of the river, we will put a lot of bushes in the hills, in fact, they are big trees. We will draw two small cottages on the other side. Draw a tree beside the cottage. We will build a long road in front of the house which is probably going towards the city. The people of the village are usually very innocent in nature.
Village Scenery Drawing Step By Step – Easy Drawing Tutorial For Kids :

Come on little friends, this time we start drawing pictures of beautiful villages. Here are some easy steps to draw beautiful village scenery.
Requirement Materials :
Here are the materials we need to draw this picture.
- White paper
- Pencil
- Pencil sharpener
- Eraser
- Color Box
- Tissue paper
Step 1 :
Draw the margin on the white paper.
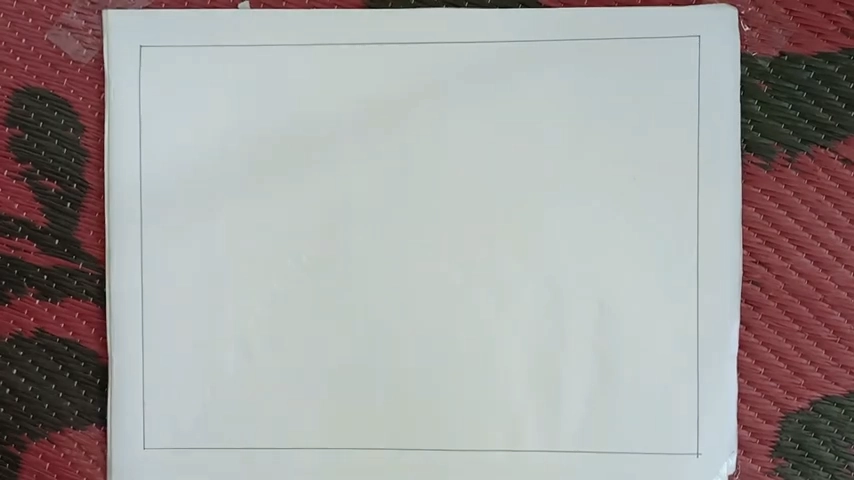
First, you need to draw a clear white paper. To draw margins, all you need is a scale, a pencil, and nothing more. Margins are to be drawn on white paper with the exception of half an inch around it.
Step 2 :
Draw the roof of the house.
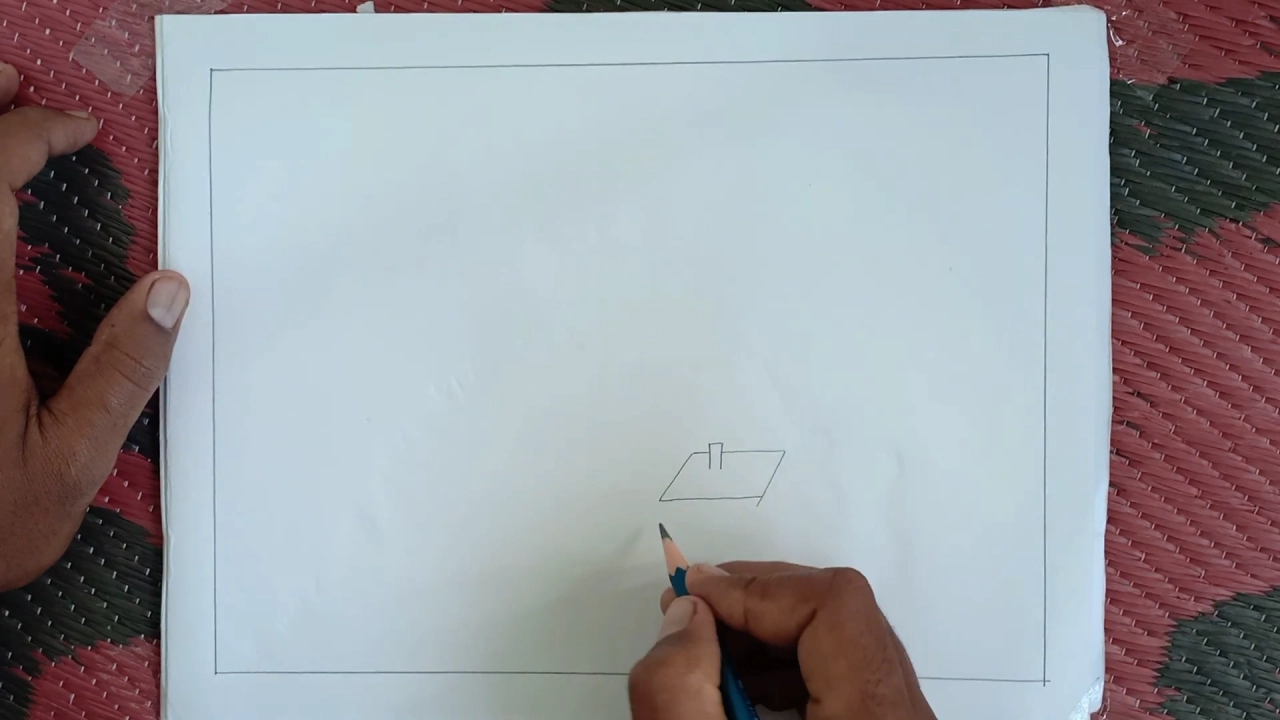
The roof of the house will be of rhombus type. Draw a chimney at the top of the chart through which the smoke comes out. As we have shown in the picture above.
Step 3 :
Draw two houses completely.
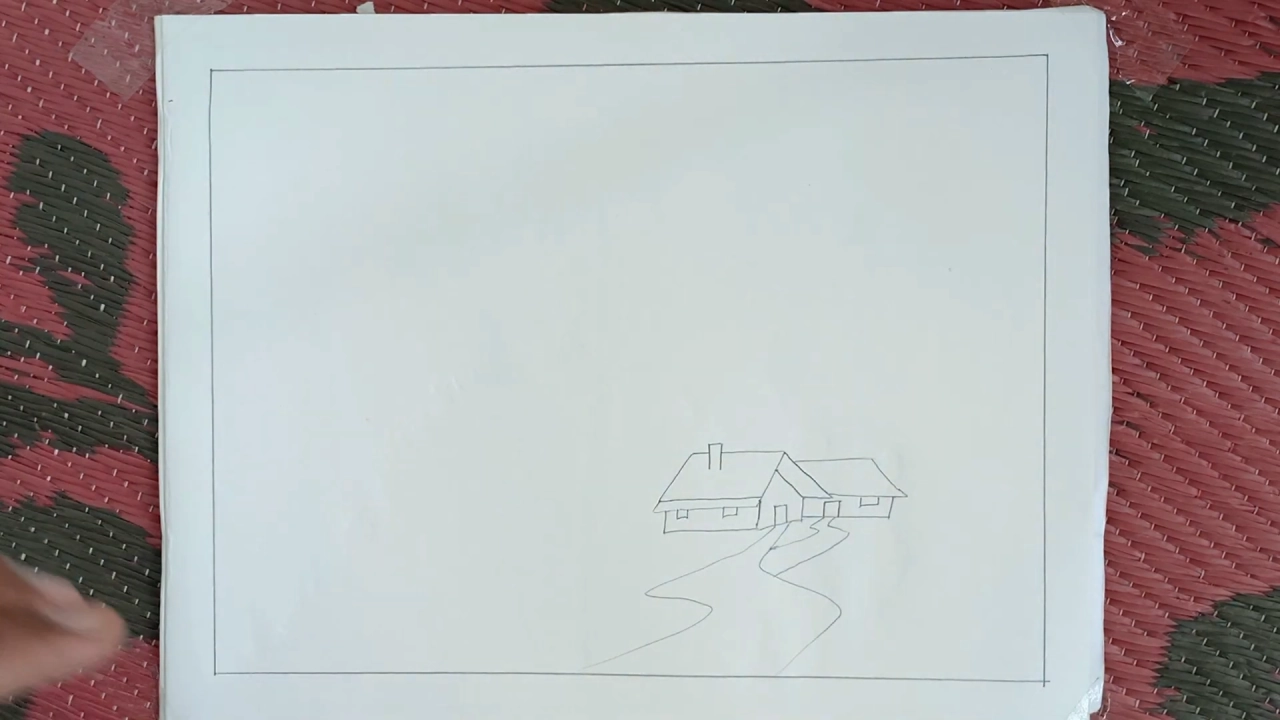
Then the house does not have to be rectangular. The house will have two windows on one side and a door on the other side. Draw another house behind the first house and draw a small window beside the door. We will draw in front of the house, a road like a meandering river.
Step 4 :
Create an environment around the house.
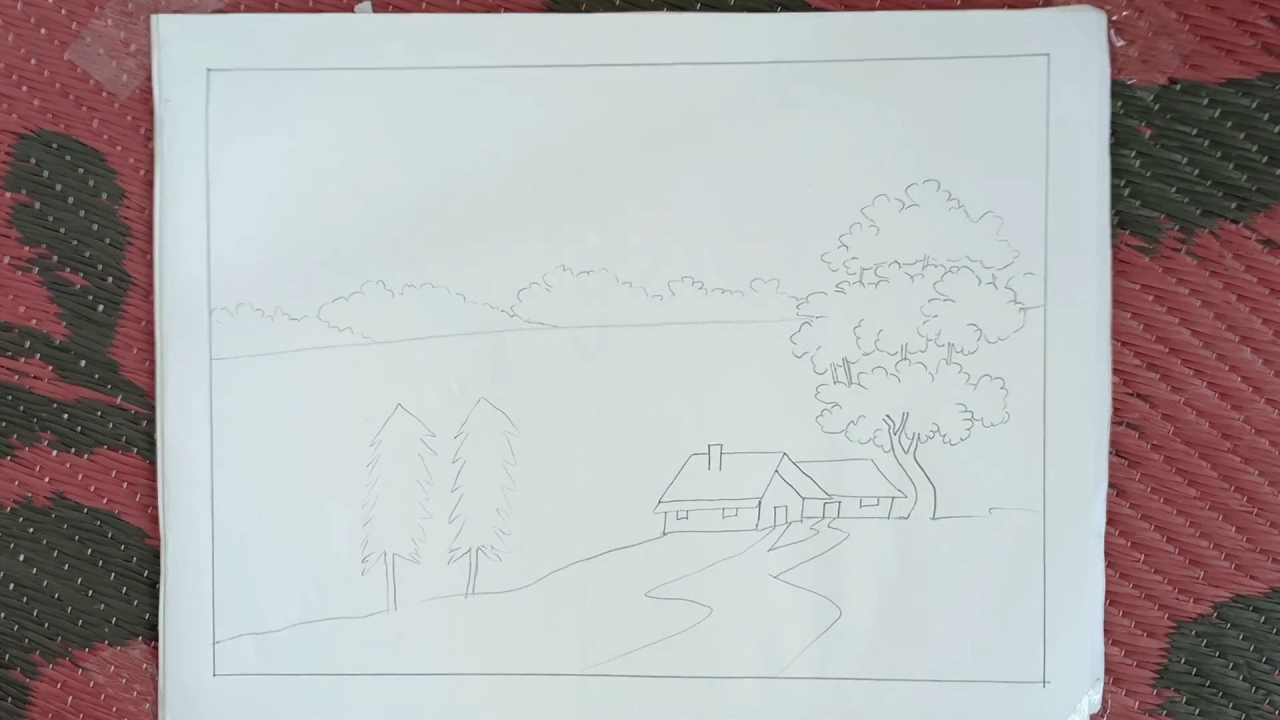
We will draw a high ground under the house. Then we will draw a tree next to the house. There is a vast and deep river behind the house. There are big trees on the other side of the river, but it looks like small bushes. Draw a few Christmas trees on one side of the river.
Step 5 :
Draw a picture of the sun setting on a distant mountain.
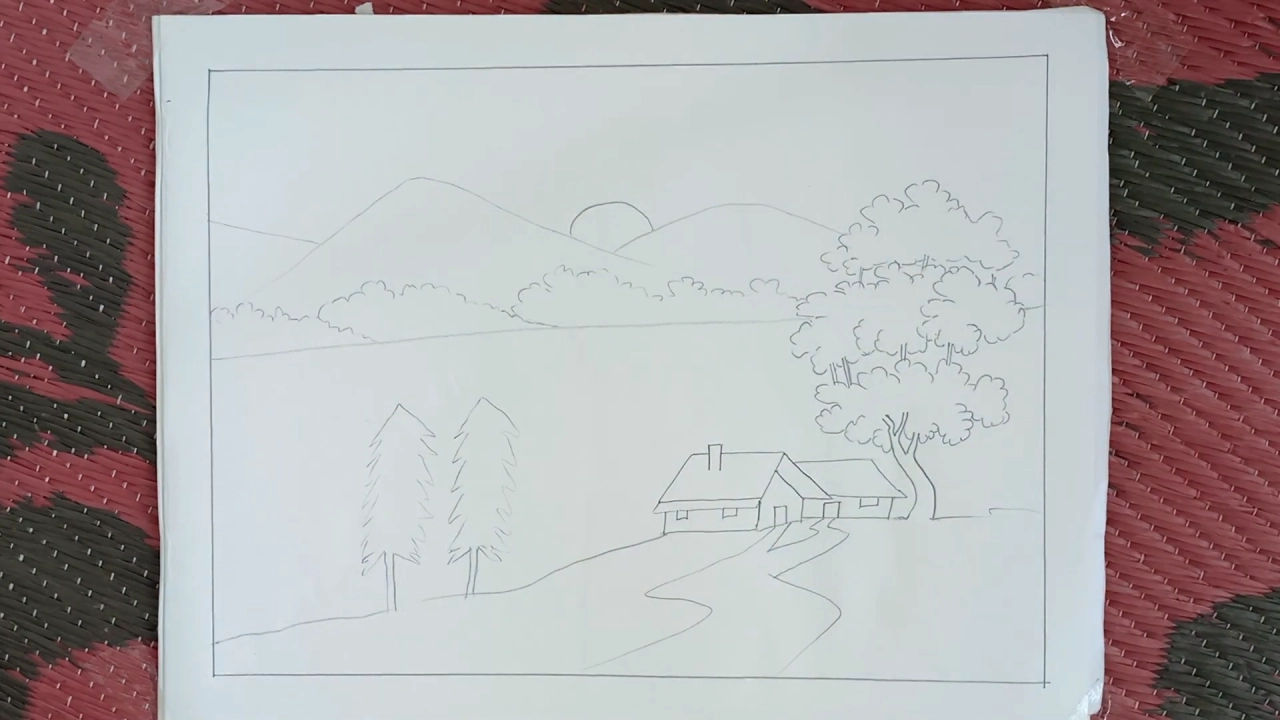
First, draw a picture of a mountain range on the bushes in the distance. Draw the sun between the two hills. Then Draw as if the sun were setting. The mountains are like a pyramid.
Step 6 :
Paint the sky blue, yellow, pink.
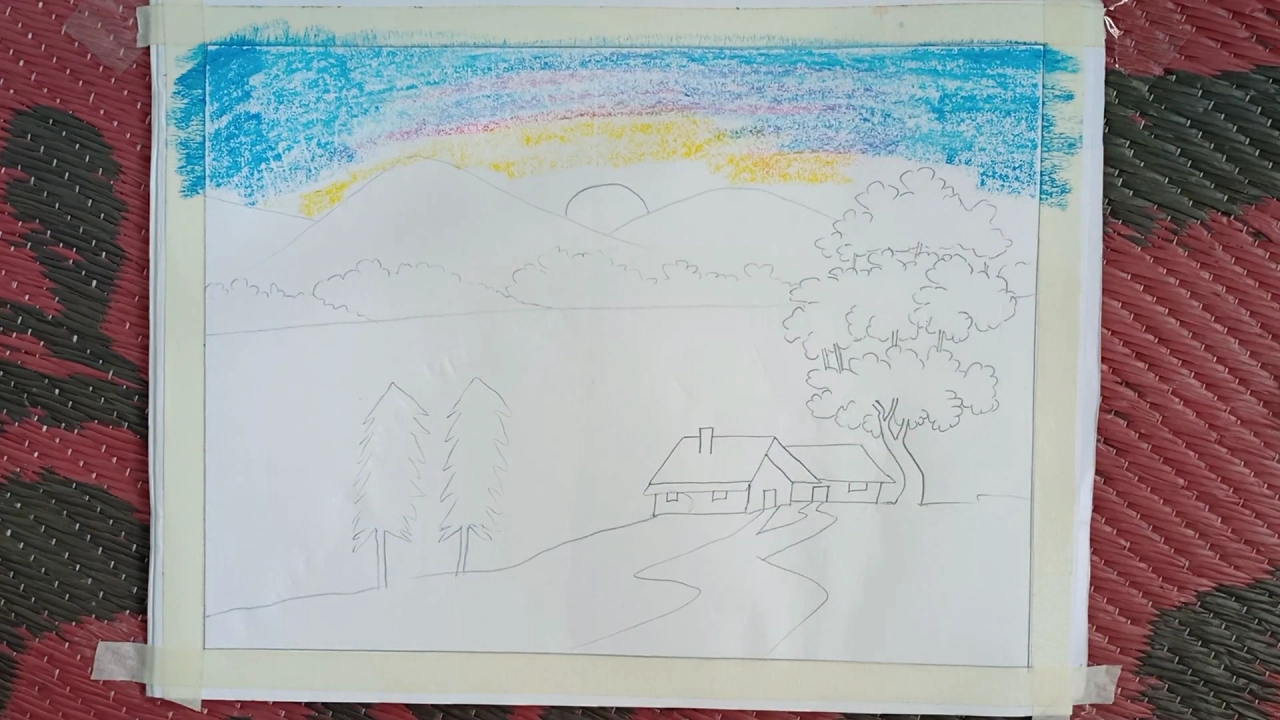
First, we will put masking tape on the margins around the page. Then paint the top of the white paper blue. Give yellow color around the sun. In the place where yellow and blue meet, give pink lightly. You will use oil pastel when painting.
Step 7 :
Paint the sun and the rays of the sun.
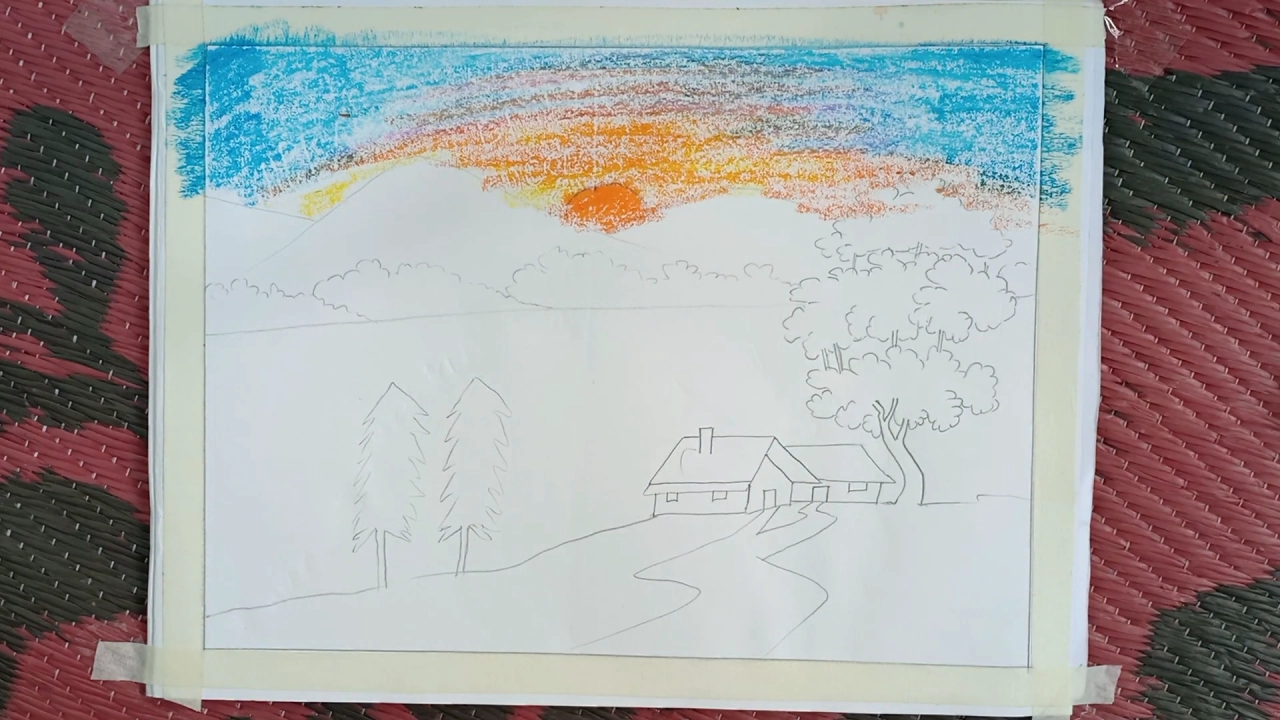
We will color the sun orange. Orange should be given around the sun but lightly. Then gently spread the orange towards the blue, don’t give too much.
Step 8 :
Rub with tissue paper.
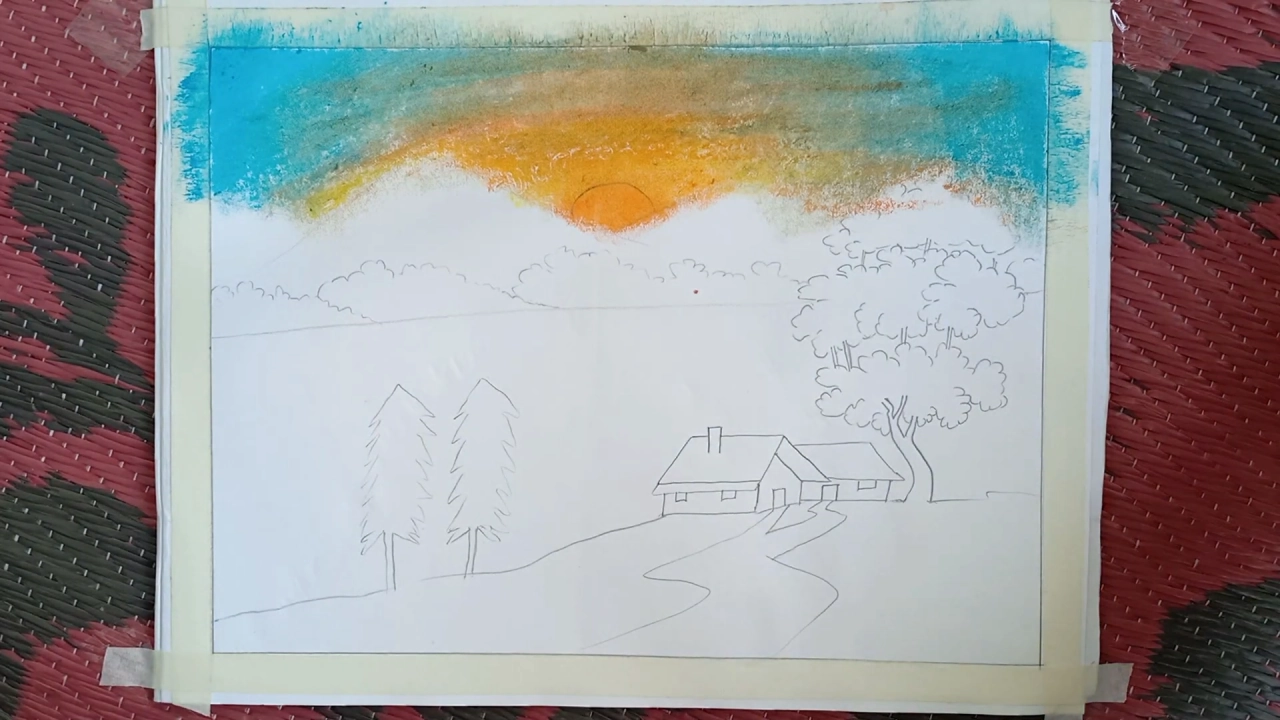
First, rub in blue with the help of tissue paper. Then throw away that tissue paper, take another new tissue paper and rub it on the sun. After rubbing the sun, rub the sun’s rays a little. If you rub from right to left, the picture of rubbing from top to bottom will be bad.
Step 9 :
Draw the sun’s rays again with the help of color and make the hill.
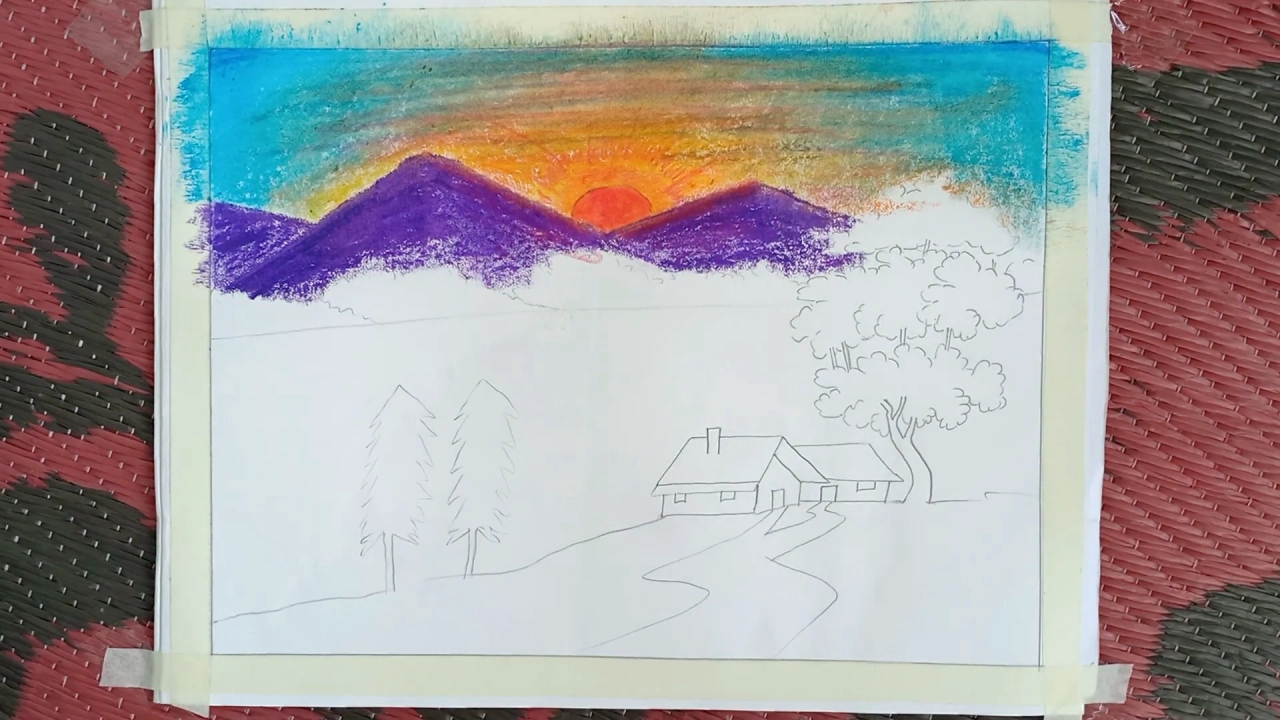
We will paint the mountains purple. Then we will paint the sun again with the help of an orange. Draw the sun rays with the help of red color. Now you have finished painting the mountains and the sky.
Step 10 :
Paint the bushes and the river.
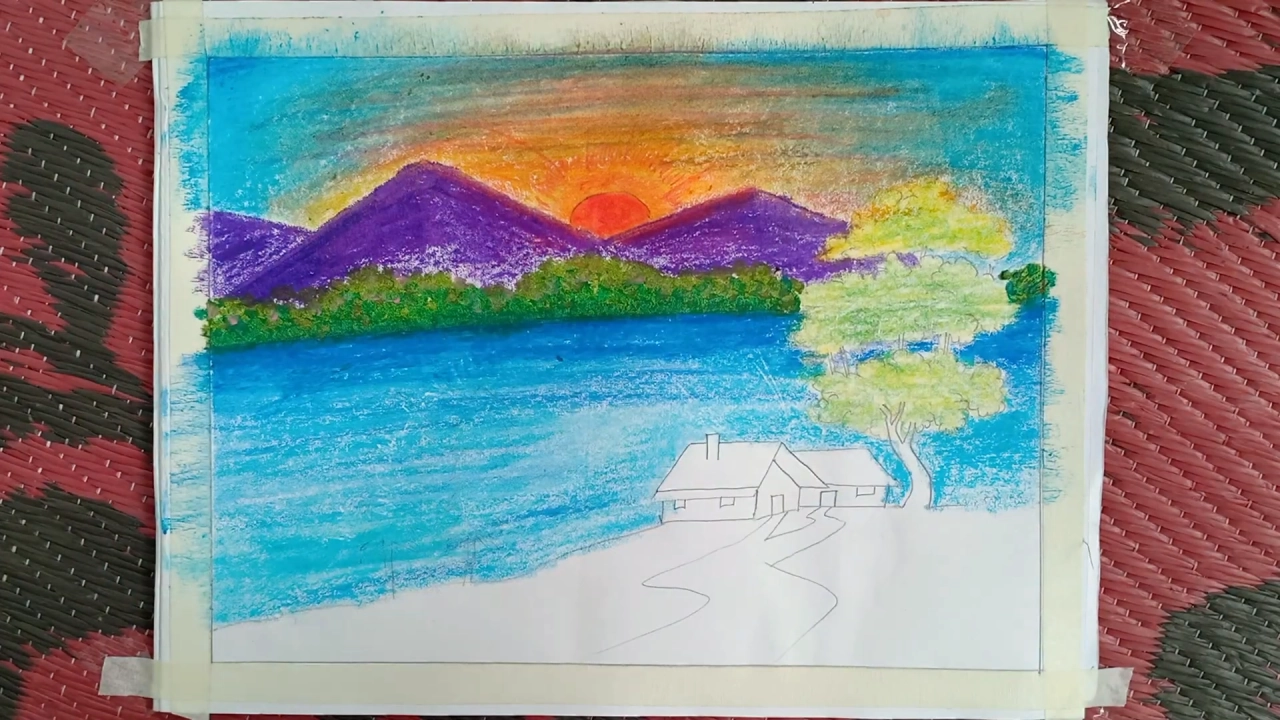
We will color the bushes green. Give a little yellow color on the top of the bushes. Lightly paint the blue at the very bottom of the bushes. As if that means the density of the bushes. This time we will paint the river blue. The far side of the river will be very blue, and the near area will be light blue. Then we will give light yellow to the tree beside the house.
Step 11 :
Paint the trees on the side of the house.
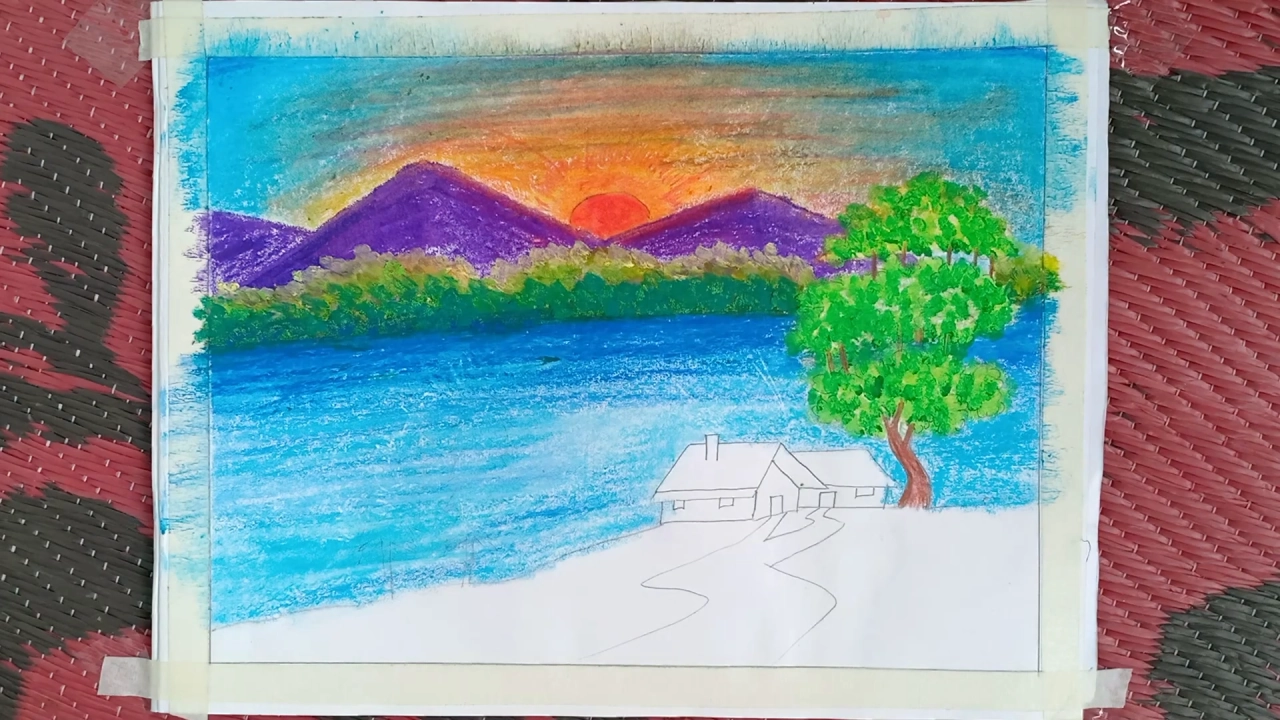
Give yellow color first. Then paint with light green, on yellow. Give more green color to the light green color like the leaves of the tree. If you want you can give a light blue color to the leaves of the tree, there the density of the leaves of the tree will increase.
Step 12 :
Make Christmas Tree with purple color.

The Christmas tree vanished while the water was being painted. So we will make a Christmas tree with more purple color. You can give another tree in place of the Christmas tree if you want.
Step 13 :
Paint the house.
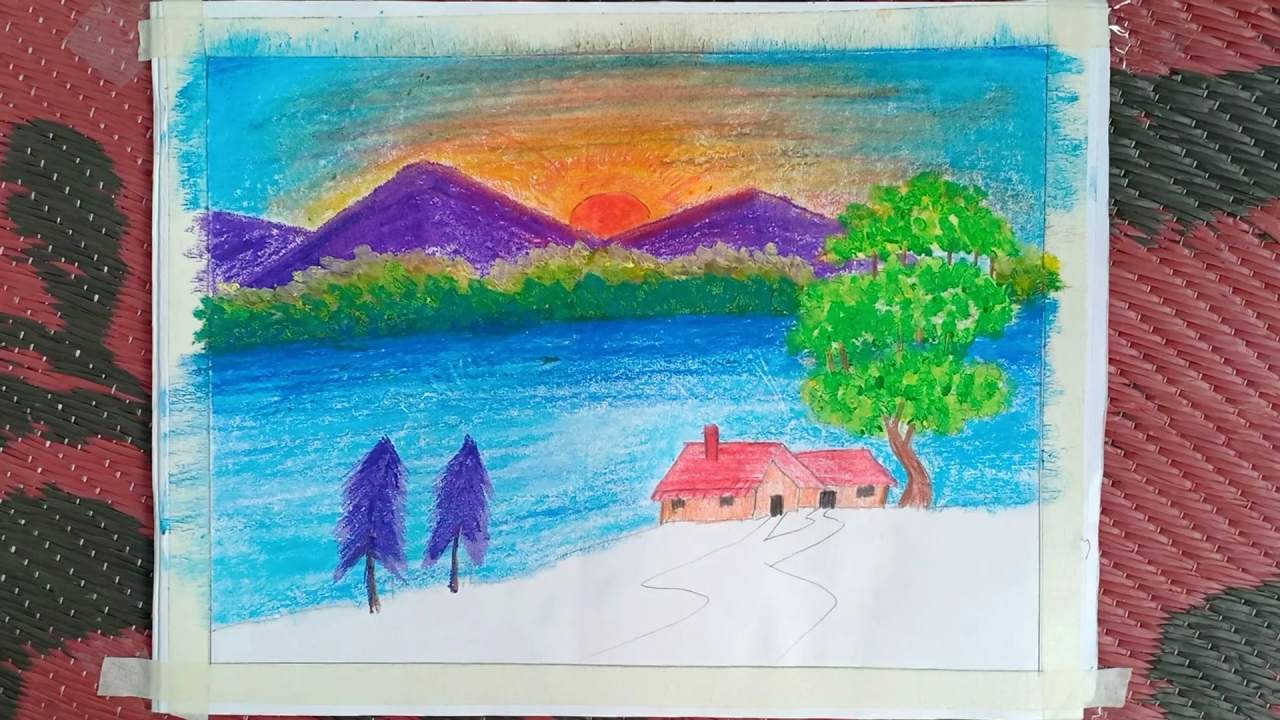
Paint the roof of the house red. The walls of the house will be painted pink. The doors and windows of the house will be black. Here you can draw and paint different types of houses if you wish.
Step 14 :
Paint the road in front of the house and the soil around the road.

We will paint the street in front of the house orange. We will paint it orange so that it is more orange on the left, and lighter orange on the right. Then we will paint green on both sides of the road.
You must draw the picture and send me your picture with the link given below. I will definitely try to give your picture in my story.
Look, our village scenery drawings have been created. There are many more ways to make pictures like this on our website. And many more pictures will come later. So all of you bookmark this website in our browser and subscribe to our youtube channel Draw With Pappu.
Watch Village Scenery Drawing Step By Step :
Read More: How to Draw a Mouse For Kids


Leave a Comment