Welcome to our step-by-step tutorial on how to draw a charming mushroom house! This delightful drawing is perfect for kids and anyone who enjoys expressing their creativity through art. In this tutorial, we’ll guide you through each stage of the drawing process, ensuring that you have all the necessary information to create a wonderful mushroom house illustration. So, grab your drawing paper, and let’s get started!
Mushroom House Drawing With Color Step by Step For Kids
Let’s start Cartoon Frog House drawing, little friends. Here are some easy and simple processes to draw a cute mushroom house.

Requirement Materials :
Here are the materials we need to draw this Mushroom House Drawing.
- White paper
- Pencil
- Pencil sharpener
- Eraser
- Color Box
- Tissue paper
Step 1 –
Draw a Margin Outside the Page.

To begin, take a white drawing paper and use a scale to draw margins around the page. Leave a half-inch margin on all sides. Make sure your drawing area is clean and tidy before proceeding.
Step 2 –
Draw the Roof of the Frog House.

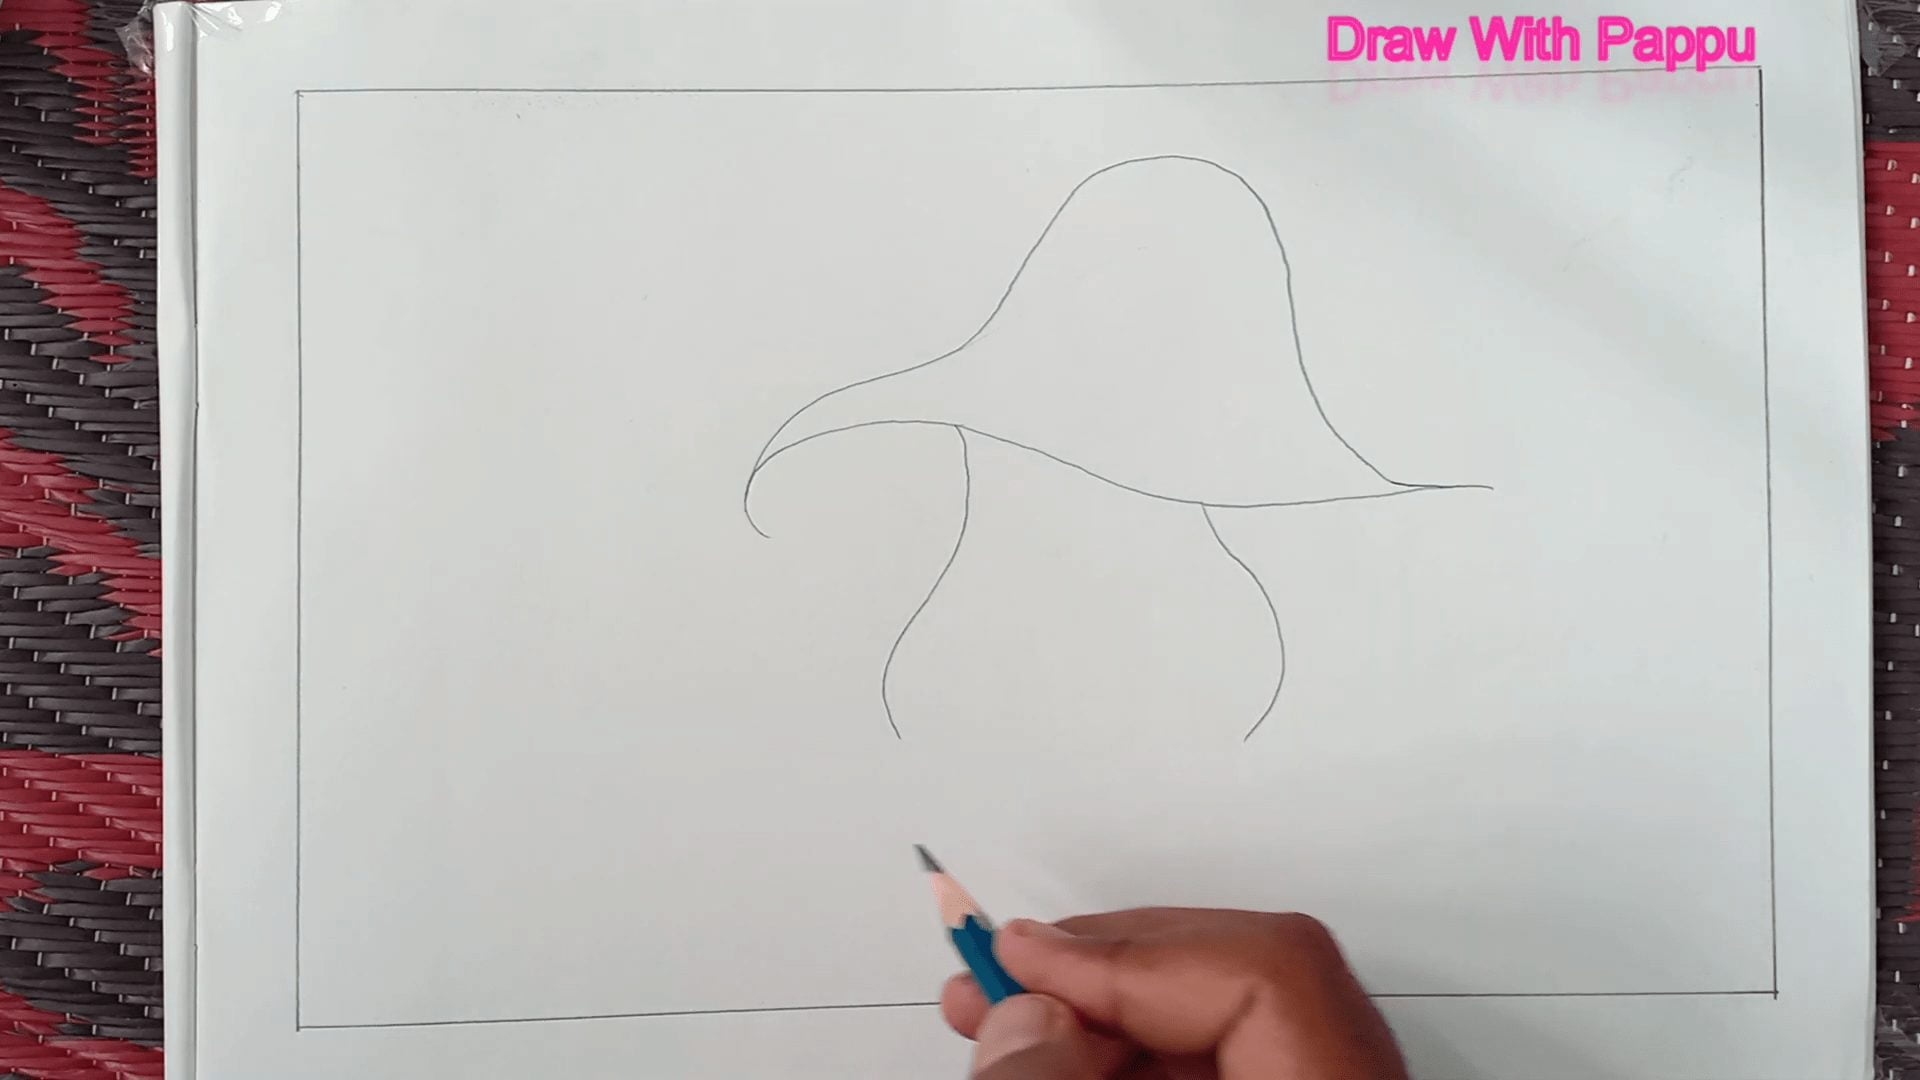
The roof of the mushroom house resembles a hat with wavy patterns. Draw the middle part slightly higher and lower, giving it the appearance of a small hill.
Step 3 –
Draw the Wall.

Unlike regular walls, the frog house’s wall is curved and doesn’t conform to reality. Be creative and draw the wall as you like!
Step 4 –
Draw the Door.

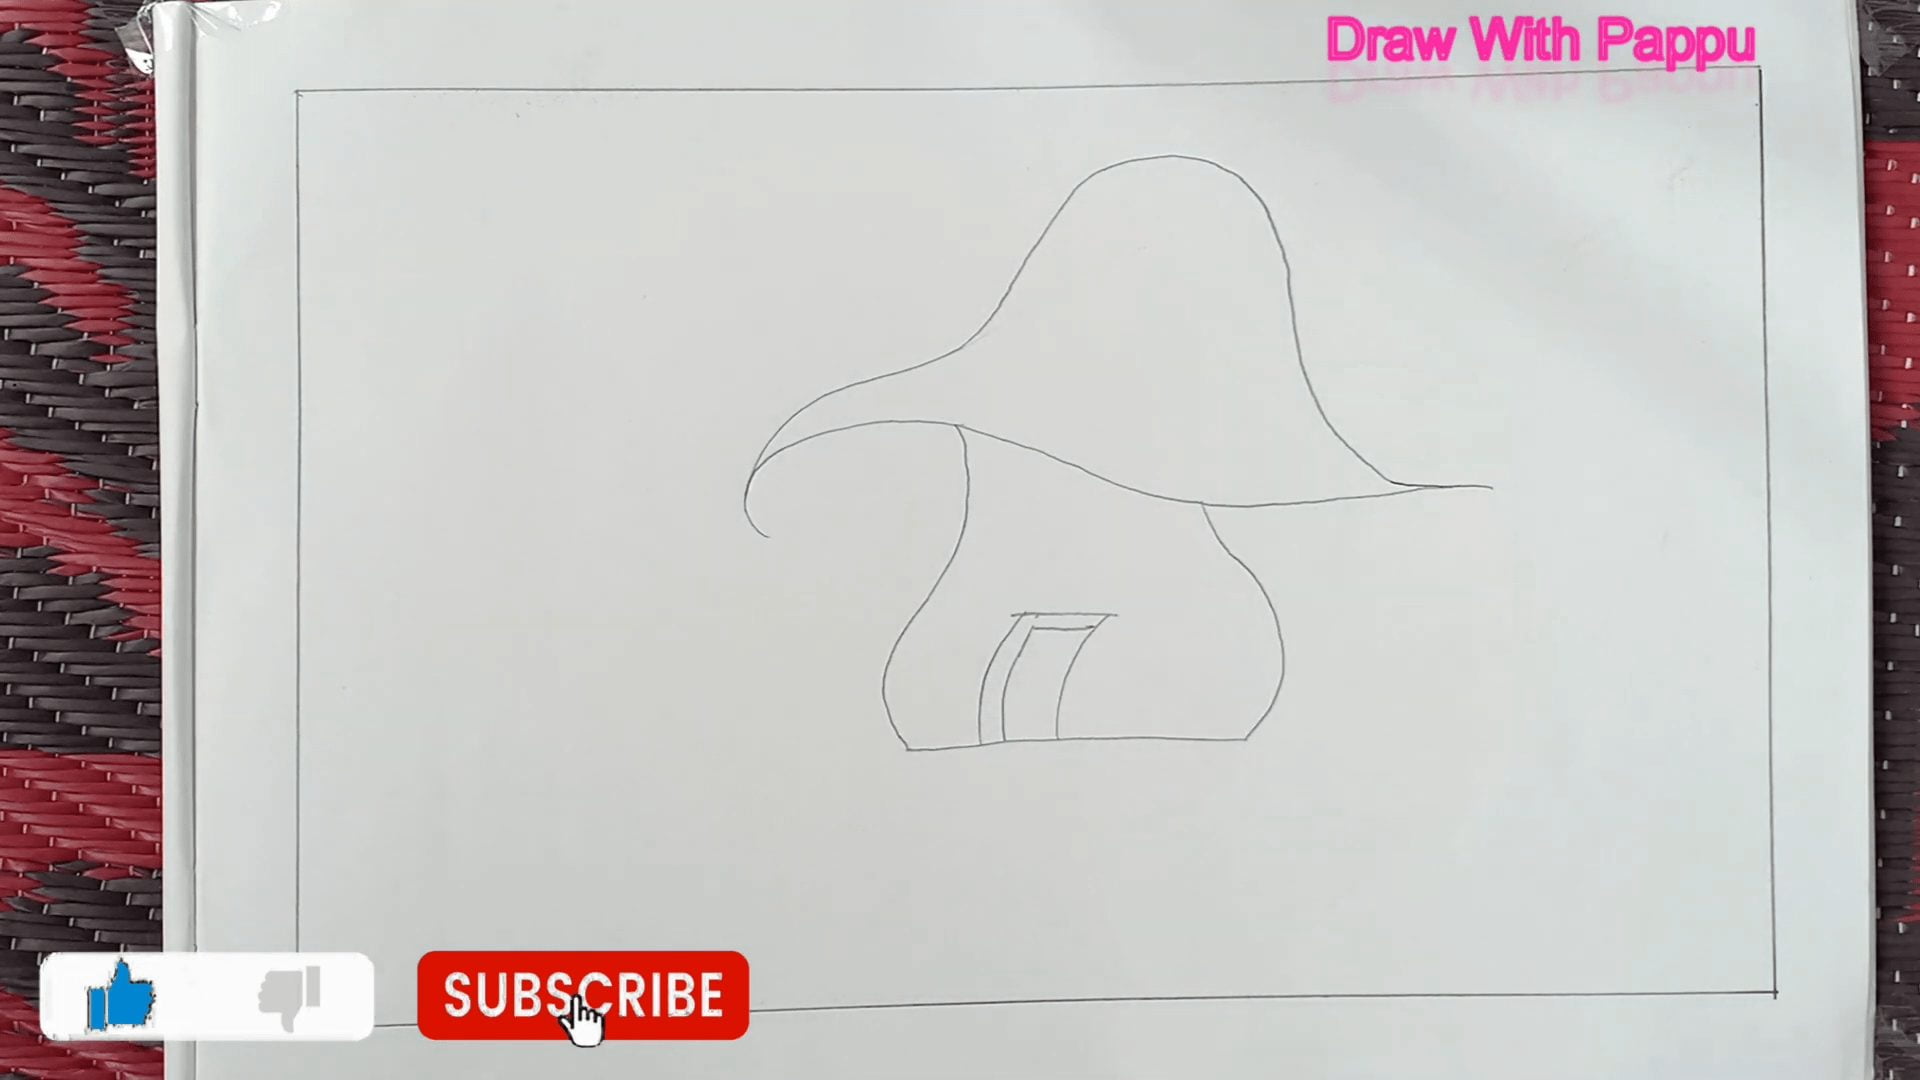
Create a curved door that looks like it’s open. Position the door to give the impression that it is viewed from the left side.
Step 5 –
Draw the Window.

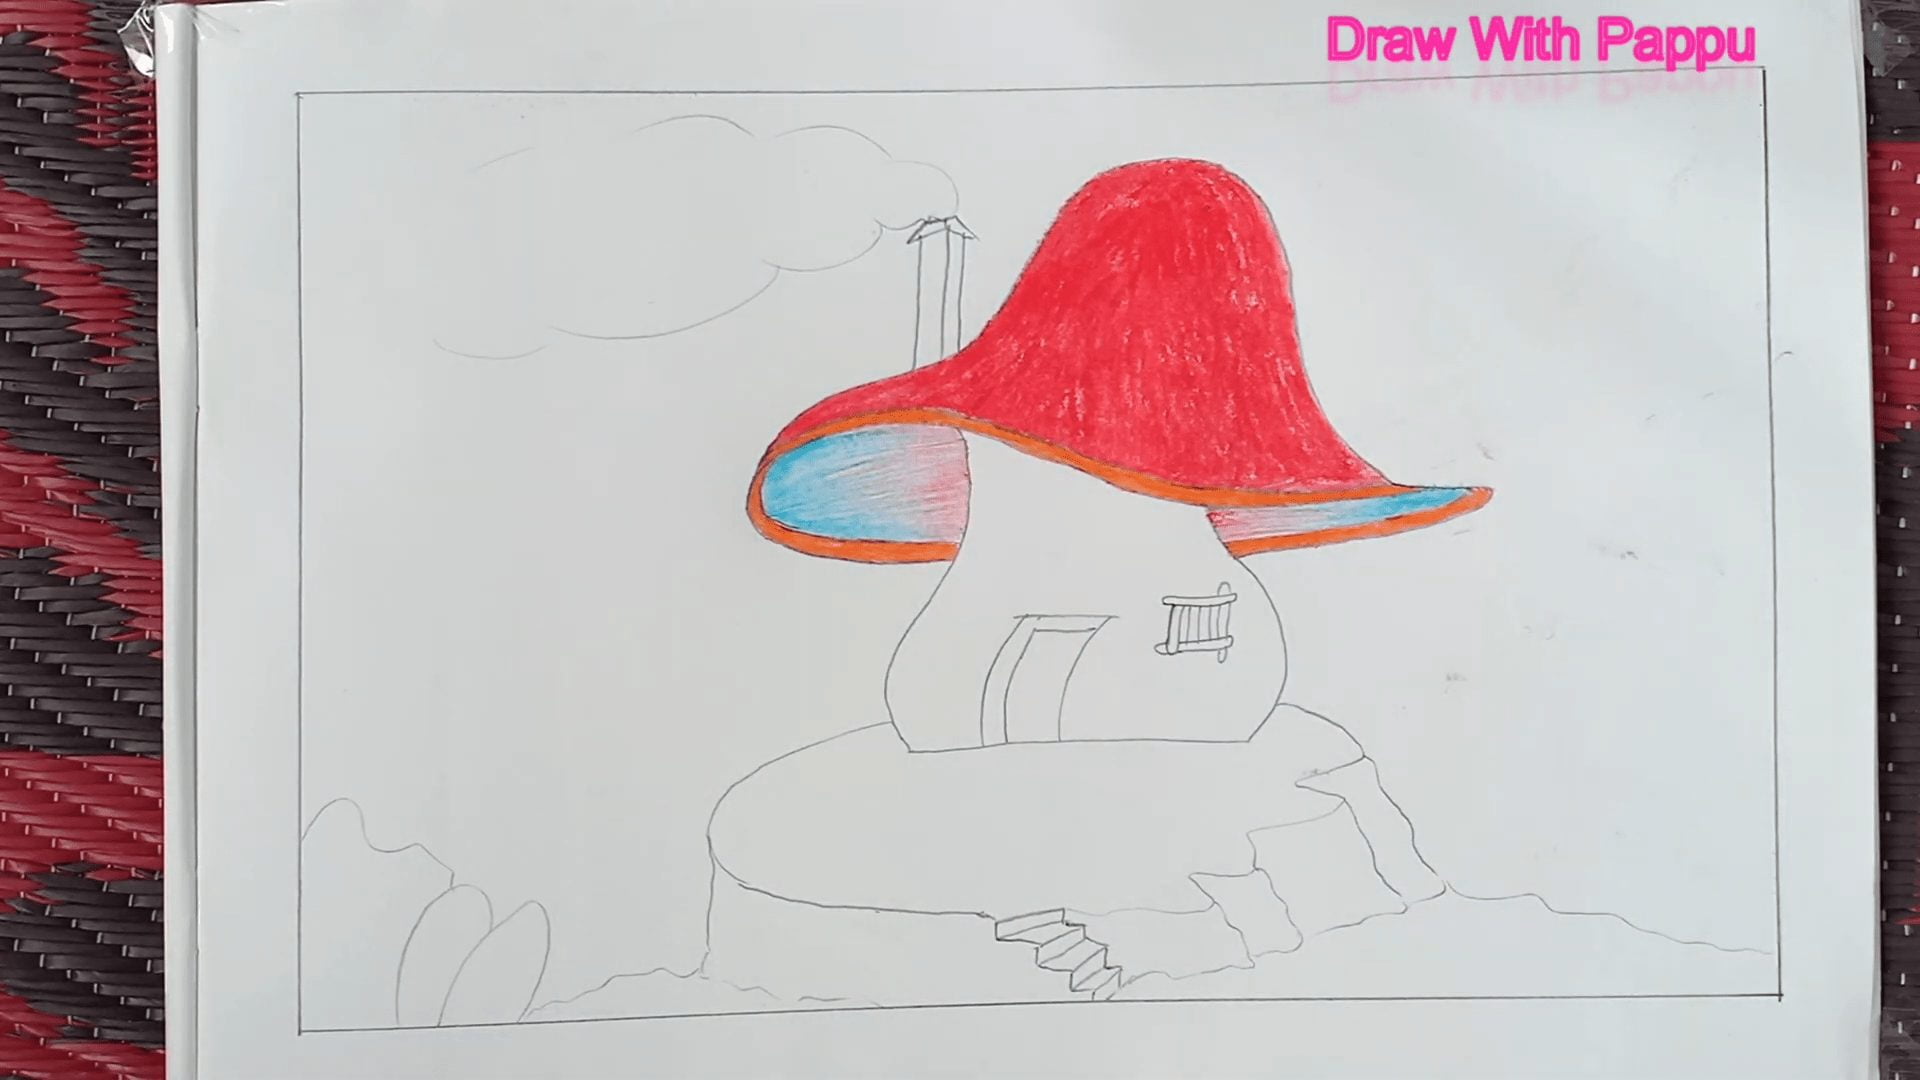
The windows of the mushroom house are made of wood and appear closed permanently. Draw the windows with wooden frames.
Step 6 –
Draw a Picture Inside the Roof.

The inside of the roof should resemble the inside of an umbrella, similar to a frog’s umbrella hat.
Step 7 –
Draw a Picture of the Highlands.

The frog’s house is always situated on high ground, even in a world of children’s imagination. Draw stairs leading from the highlands to the lowlands.
Step 8 –
Draw a Chimney on the Roof of the Mushroom House.

A chimney is the part of the house where smoke comes out. Draw a chimney emitting smoke on the roof.
Step 9 –
Draw a Few Small Hills Around

Add small raised parts around the house that resemble little hills.
Step 10 –
Paint the Roof of the House Red.

Using red oil pastel, paint the roof of the mushroom house. Afterward, gently rub it with tissue paper.
Step 11 –
Give an Orange Color to the Very Edge of the Roof.

Color the very end of the roof with orange, ensuring a smooth transition from red to orange.
Step 12 –
Paint the Inside of the Roof Blue.

Using a blue pencil, color the bottom part of the roof with darker shades towards the edge and lighter shades towards the wall.
Step 13 –
Paint the Inside of the Roof Red.

Give the inside of the roof a reddish tint, appearing redder on the wall part and whiter in the middle.
Step 14 –
Paint the Wall of the Mushroom House Yellow.

Using yellow oil pastels, paint the walls of the mushroom house. Slightly blend brown at the bottom for a touch of realism.
Step 15 –
Paint the Inside of the Door Purple.

Paint the inside of the door and window with black or purple to create the illusion of an open door and closed window.
Step 16 –
Give Light Yellow on the Ground.

Paint the ground in front of the house with light yellow on both sides.
Step 17 –
Paint Green Around the House on Yellow.,

Add green color around the house on the yellow background, making some areas greener than others. Feel free to draw grass using green color.
Step 18 –
Paint the Soil of High Ground Brown.

Color the highlands with brown and add touches of blue in some areas.
Step 19 –
Paint the Small Hills Red and Orange.

Paint the small hills around the house in a happy mix of orange and red.
Step 20 –
Paint the Smoke.

Give the smoke an ashy color, making it look like a cloud. Add blue color on one side of the chimney and orange on the other.
Step 21 –
Draw Clouds on Both Sides of the House and a Rainbow on Top.

Use blue oil pastels to draw clouds on both sides of the house. Then, create a rainbow on the roof of the mushroom house using seven colors.
Step 22 –
Highlight the Outline.

Finally, use a marker pen to highlight the outline of the house.
Congratulations! You’ve completed the drawing of a charming mushroom house. We hope you had a fantastic time following this step-by-step tutorial. Feel free to explore our website for more exciting drawing tutorials and be sure to subscribe to our YouTube channel, “Draw With Pappu,” for even more fun-filled art activities. Happy drawing!
You must draw the picture and send me your mushroom drawing a picture with help of the link given below. I will definitely try to give your picture in my story.
Watch How to Draw Mushroom House Step by Step For Kids :
Read More: How to Draw a Lion


Leave a Comment