Learn how to create an adorable monkey drawing with this step-by-step tutorial. Drawing a cute monkey has never been easier! Follow the simple instructions below to master the art of drawing a lovable monkey effortlessly. Let’s get started with this easy monkey drawing guide!
How To Draw A Monkey Step By Step – Easy Monkey Drawing For Kids
Come on, little kids, let’s start drawing monkeys.

Requirement Materials :
Here are the materials we need to draw this picture.
- White paper
- Pencil
- Pencil sharpener
- Eraser
- Color Box
- Tissue paper
Step 1 –
Monkey’s Mouth.
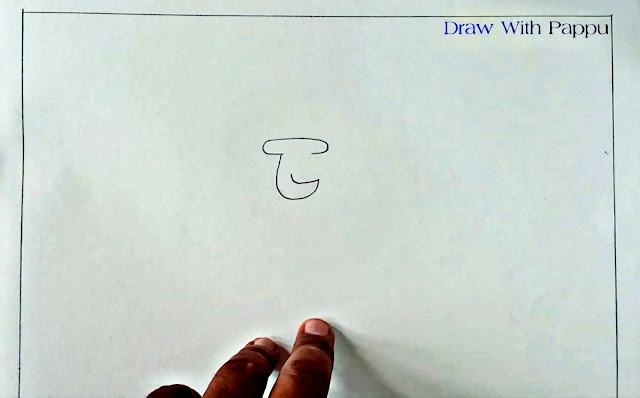
To begin, take a white paper and draw margins, leaving half an inch of space around the paper for even margins. Now, draw the monkey’s mouth by creating a shape that resembles the opposite of the English letter ‘j’. This step is made simple as kids are already familiar with drawing the letter “J”.
Step 2 –
Monkey’s Eyes and Nose.
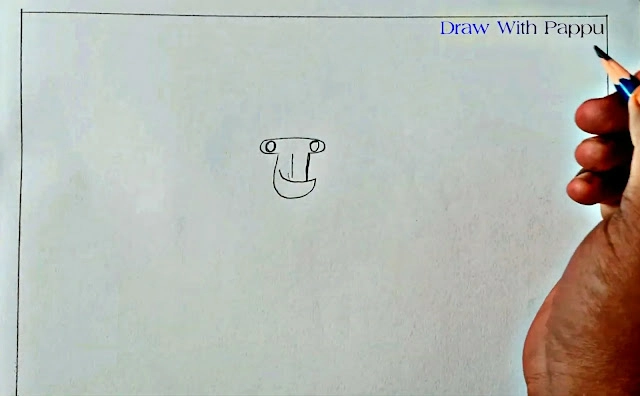
Next, draw two circles to form the monkey’s eyes. Then, add a small mark on the face to create the nose. Drawing monkey eyes and noses is easy for kids, as they are already comfortable drawing circles and spots.
Step 3 –
Monkey’s Head, Ears, and Body.
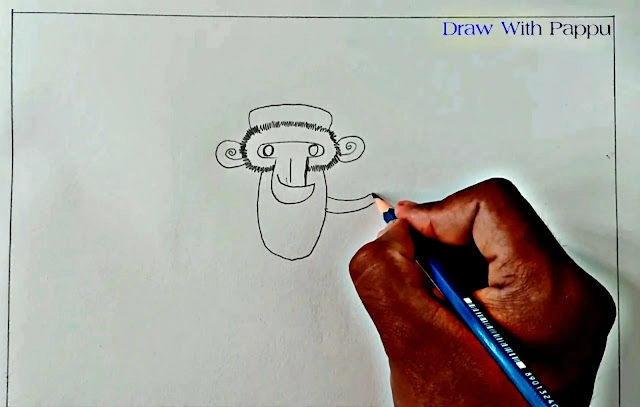
After drawing the face, proceed to sketch the monkey’s head and add hair around it. Use circles to represent the monkey’s ears, and add inner circles for detail. Remember to draw the hair finely, as monkeys have fine hair. Continue by sketching the monkey’s body.
Step 4 –
Monkey’s Hands, Legs, Tail, Banana, and Navel.
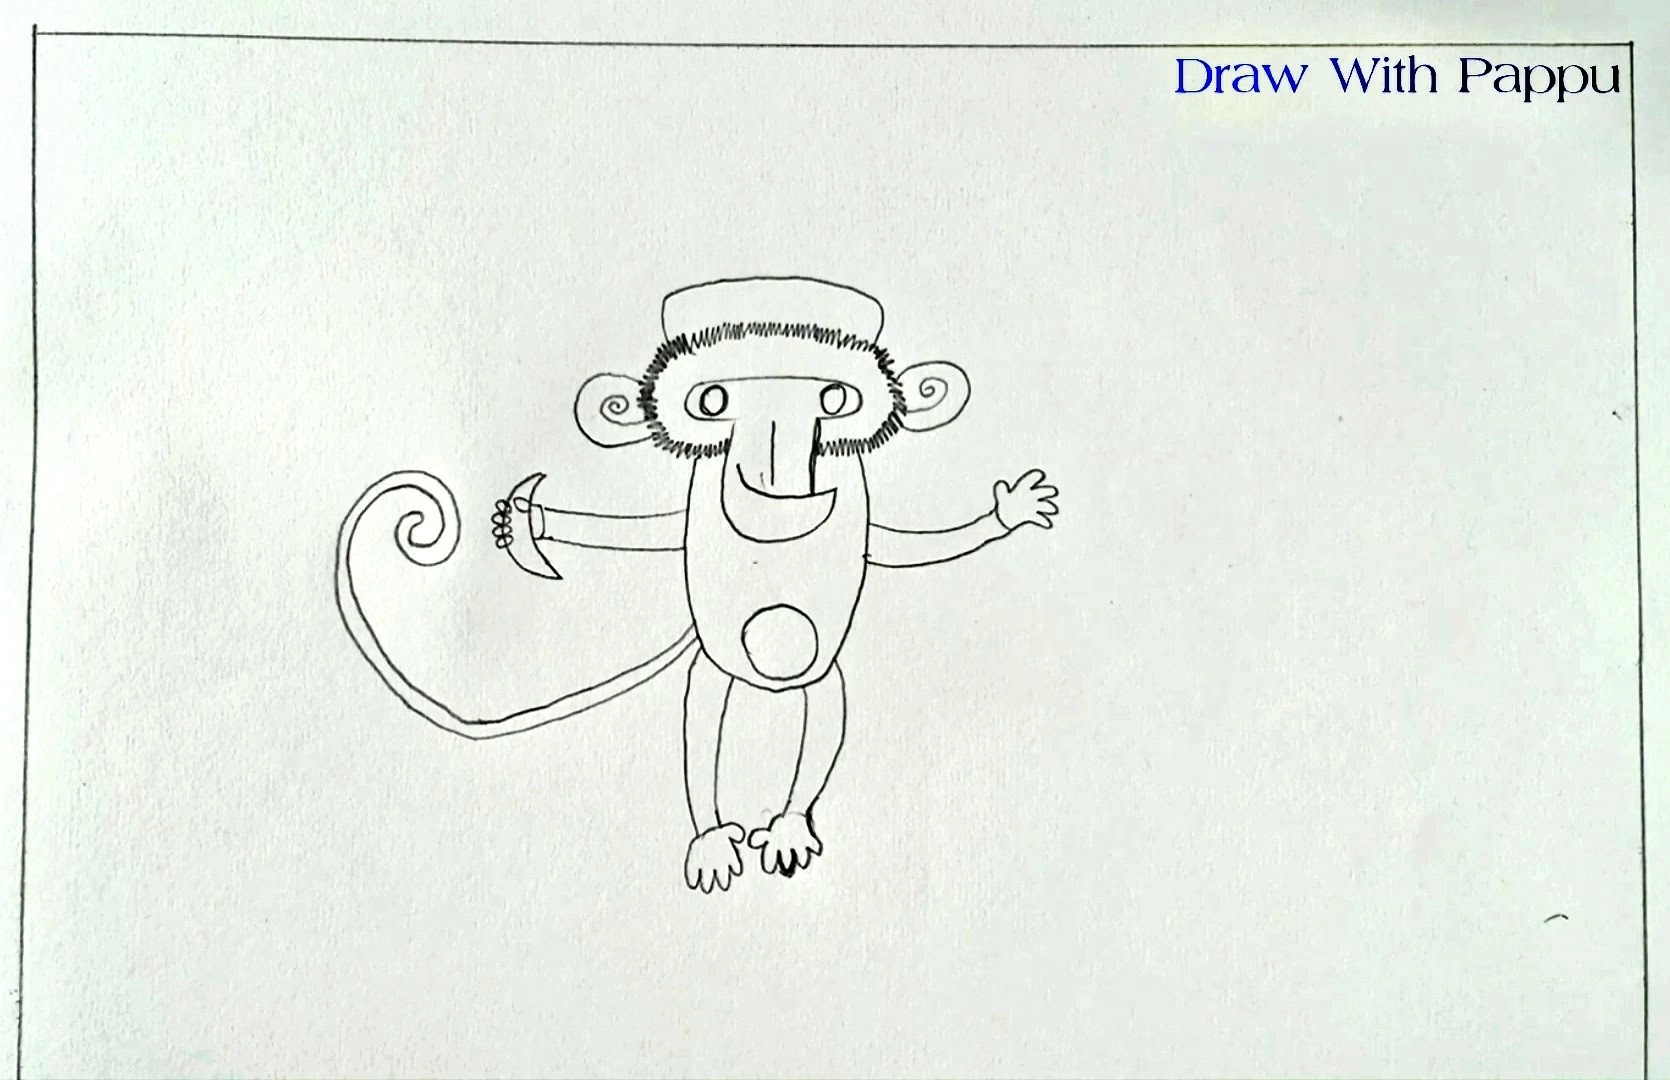
Now, draw two hands on each side of the monkey’s body. Place a banana in its left hand. To draw the navel, create a circle on the lower part of the abdomen, which closely resembles a circle. Add two legs and a beautiful tail to complete the body structure.
Step 5 –
Monkey’s Hair.
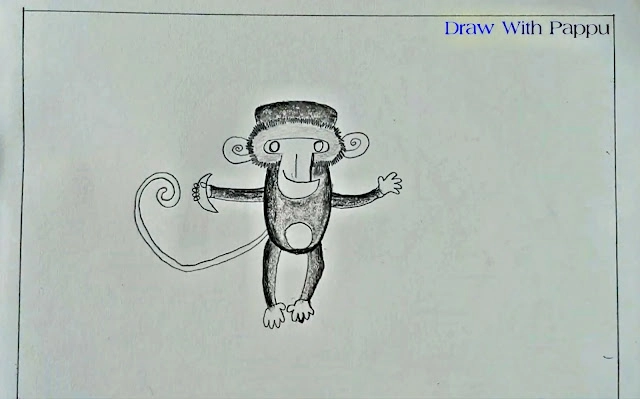
Use a pencil to add hair all over the monkey’s body, including its face, belly, two hands, two legs, and tail. Monkeys are covered with hair, so ensure to cover the entire body with hair details.
Step 6 –
Coloring the Monkey.
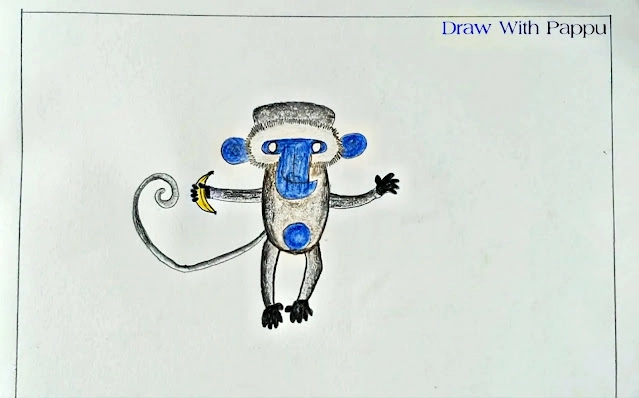
Start coloring the monkey’s ears, mouth, palms of hands, feet, banana, and navel with blue color. For the palms of the hands and feet, use black color. As you know, the banana’s color is yellow, so make sure to paint it accordingly.
Step 7 –
Painting the Eyes.
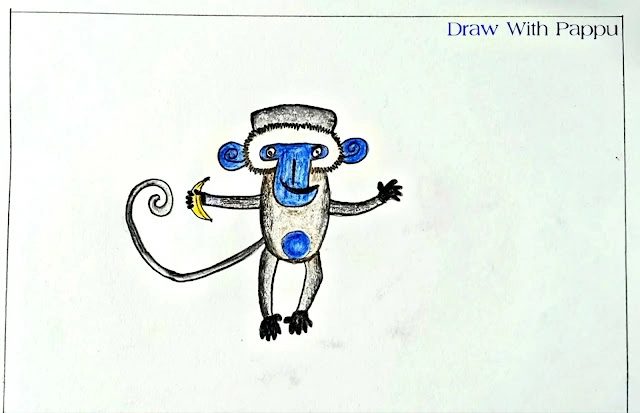
Paint the monkey’s eyes with black paint, keeping the area around the eyes white. Add black color to highlight the face and nose of the monkey. Emphasize the monkey’s hair with a thick layer of paint.
Step 8 –
Background and Finishing Touches.
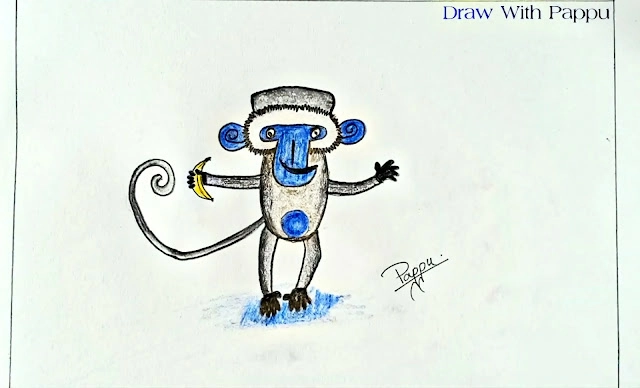
Finally, paint the floor blue, as the monkey stands on it, holding the banana with joy. Congratulations! You have successfully drawn and painted an adorable monkey following this easy and simple step-by-step guide.
Drawing a simple and cute monkey is a delightful experience, especially with our easy-to-follow tutorial. With just a few simple steps, kids and beginners can master the art of drawing a lovable monkey. Keep exploring our website for more drawing ideas and tutorials. Don’t forget to subscribe to our YouTube channel, “Draw With Pappu,” for more creative and exciting content! Happy drawing!
How to Draw a Monkey Easily Full Video Tutorial :
Also Read: Cartoon Cat Drawing


Leave a Comment